Showing posts with label Tutorials. Show all posts

Tuesday, August 23, 2022

Dollar Tree DIY: Spooky Cloche Terrariums For Craft Night


Happy Tuesday, boos! I know this may be rushing things, but I am FULLY onboard the spoop train to Halloween Town, choo choo. This is my favorite time of year for DIYs, and the best crafts are the ones that change our dining room tables from this:


... to this:
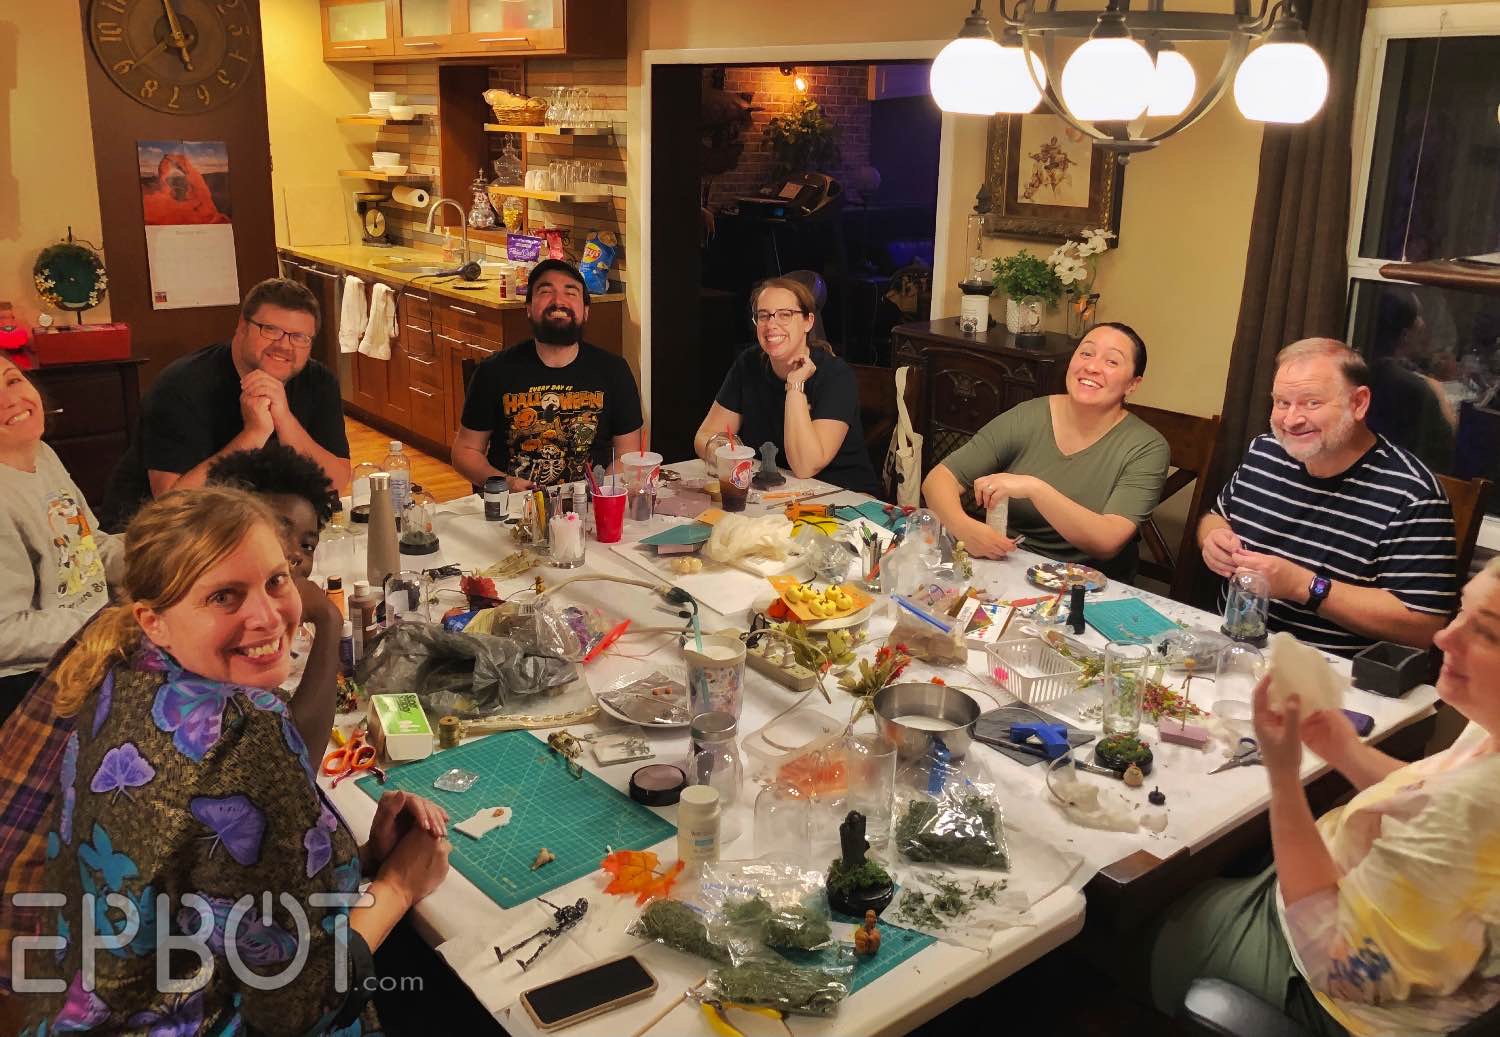

Aw yeah Craft Night!

And check out what these talented chaos gremlins made this time:


I KNOW RIGHT?

For those of you who can't watch videos right now, here are a couple examples of our spooky cloche terrariums:


This one's mine. Can you tell I've been watching Youtube videos of Mickey's Not-So-Scary?


This one's Arielle's, who used a larger cloche made of real glass, because she's fancy like that. ;)

These cloches were such a huge hit - both with my friends and some of you watching my Stories - that today I'm going to walk you through the steps, share our templates, and show you why this is the PERFECT group activity for your own craft nights.


 I'll be making this boo-ty right here:

Friday, August 12, 2022

This DIY Countdown Calendar Turns Into Pretty Wall Art!

Hiya, bots and babes! John and I made something new during my sabbatical last month, and I'm super psyched to show you.

For a little background: one of our closest friends, Ken, recently started radiation for a spot of skin cancer on his leg. The good news is they caught it early and everyone expects a full recovery, but since Ken has SMA it's still stressful and a bit scary for him and his wife, Sue.

The day Ken started treatment I decided to make him some sort of celebration countdown, like an advent calendar, or a goal chart, to mark off each of his 32(!!) treatments. I couldn't find anything online, though, so I spent all afternoon brainstorming with John, then all evening experimenting with different materials.

In the end we had my new favorite DIY: something you can use to countdown to any celebration, whether it's the end of cancer treatments, graduation, or a family vacation.

Ready to see?

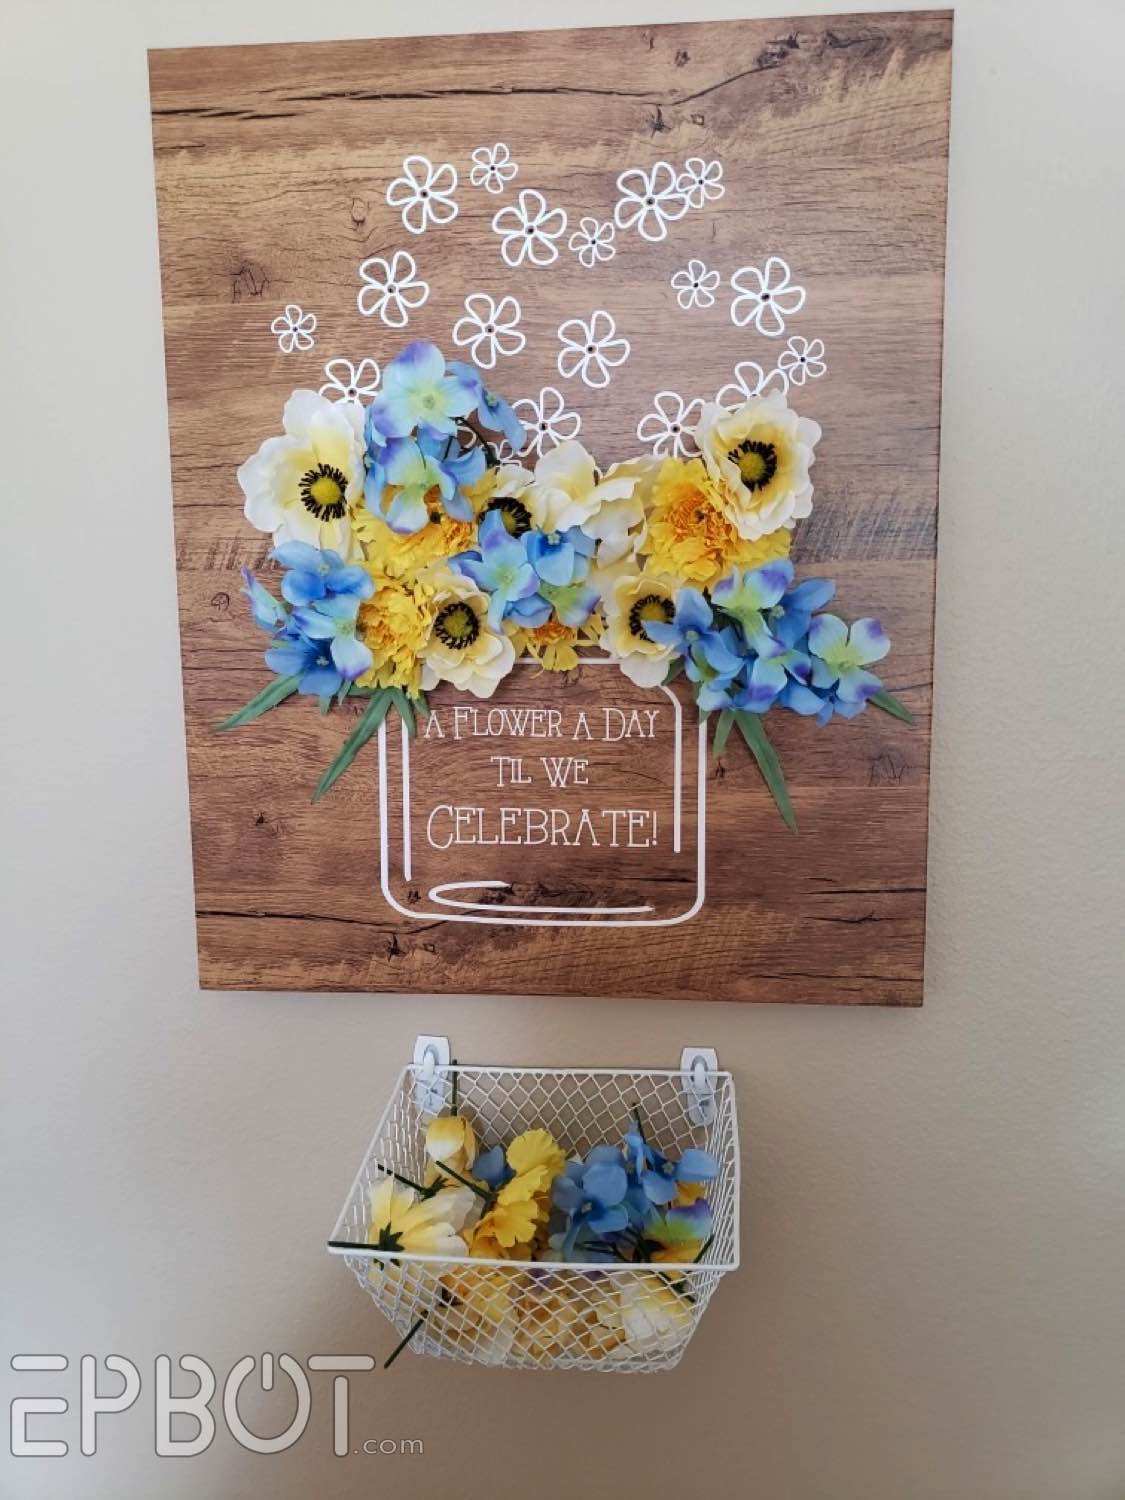
Here it is, mid-countdown:


 This is a photo Sue sent me a couple of weeks ago, showing their progress. See how it works?

There are 32 flowers, and 32 holes in the backer board. Every treatment day Ken and Sue add a flower, so not only can they SEE his progress, but by the end they'll also have a pretty piece of wall art!

In fact, here's what it will look like all finished:


I chose the colors and style to match Ken & Sue's kitchen, where this hangs besides the door from the garage. They tell me it's their new ritual for Sue to wait for Ken at the door every treatment day with a flower, so they can place it together. (MY HEART.) In fact there were happy tears on all sides when we first brought this over, and I think it was as much a gift to me, seeing my friends' reaction. Gah.

I promise this is easier to make than you think, and doesn't have to cost much, either. All you need is a piece of foam board, some wood-grained contact paper, faux flowers, and either vinyl or paint to add the wording and vase outline.

C'mon, I'll walk you through it:

Friday, May 20, 2022

Our Jungle Cruise Scavenger Hunt: Video Tour & How To Make Your Own!

Happy Friday, my boop-able bumbersnoots!

Now I know, I know, it seems like this party will NEVER END.

This is it, though, the last big reveal from our Jungle Cruise pun party! And I hope you'll steal some of these ideas, because they're a hoot.

 So, owl you ready to go on the hunt?

John and I spent the last several days making this video, so hopefully you can feel like you're here with the rest of our friends:


(Can you tell I picked the music? :D)

This is a fairly simple scavenger hunt, and most of it you can recreate yourself with only a few props and purchases. So c'mon, lemme walk you through it clue-by-clue, and show you how!


1) My favorite punny prop is definitely the butterfly display. This one is the most subtle, so it's easy to walk by without noticing what's tucked in the flowers:


Just a pretty little floral arrangement on this side, AND THEN:


I made this with a charger plate we already had, some old florals stuck in pink foam, and a plastic cloche cover from Dollar Tree. You can use an existing flower arrangement, though, and just add the butter.

The stick of butter is pink insulation foam that John stacked, painted, and wrapped in a (cleaned) butter wrapper.


It's surprisingly satisfying holding a fake stick of butter in your hand, y'all. As my friend Kristi wisely said, "You know someone is friend material if they're impressed with your fake stick of butter."

(I told John we need to make a bunch of these and sneak them into friends' fridges when we visit, for maximum harmless chaos.)

For the final touch I added paper butterfly wings to the stick of butter. Seriously, these magnetic butterflies have neverending uses.


2) The Jungle "paradise" cost $10 from Amazon, come in lots of colors, and have plastic dots that are easy to write on with pencil:

Tuesday, April 19, 2022

Winnie-The-Pooh Party Favors: Free Templates & Cut Files!

Happy Tuesday, Heffalumps and sugar lumps! I'm back with more from the Pooh baby shower John and I are planning for a friend, so if you missed our backdrop builds earlier, go see. They're pretty rad.

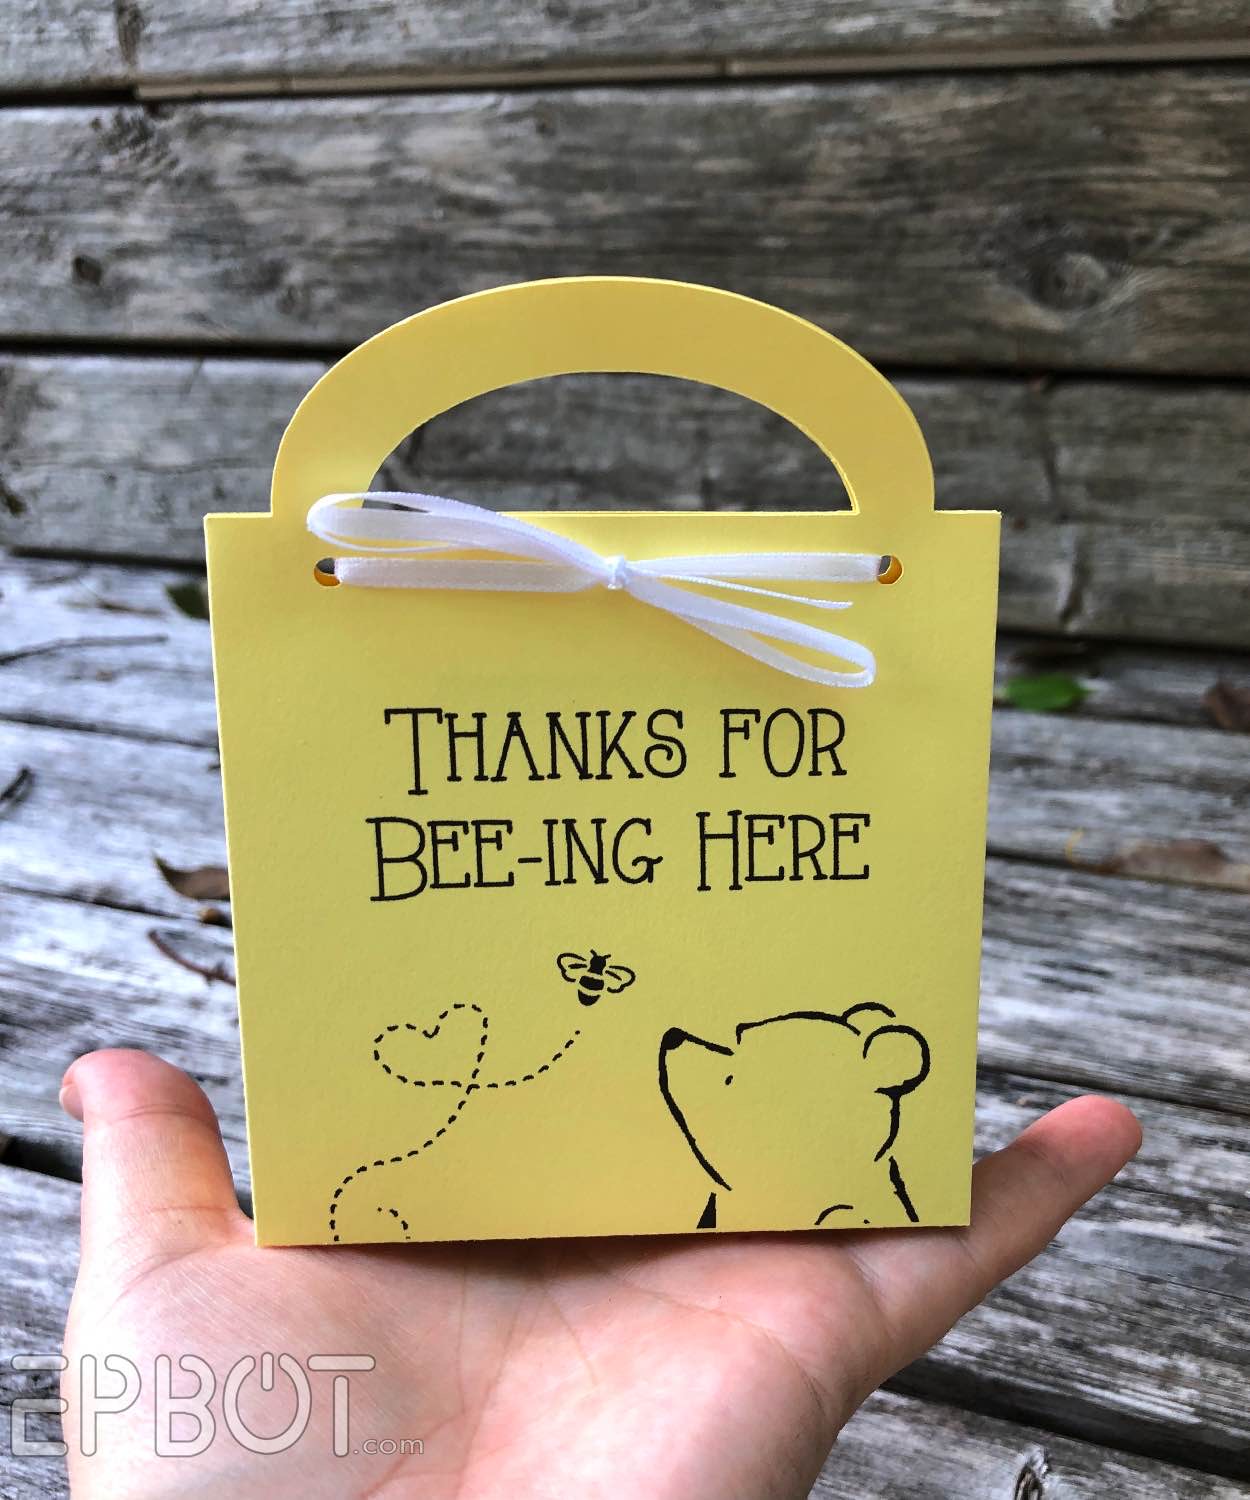
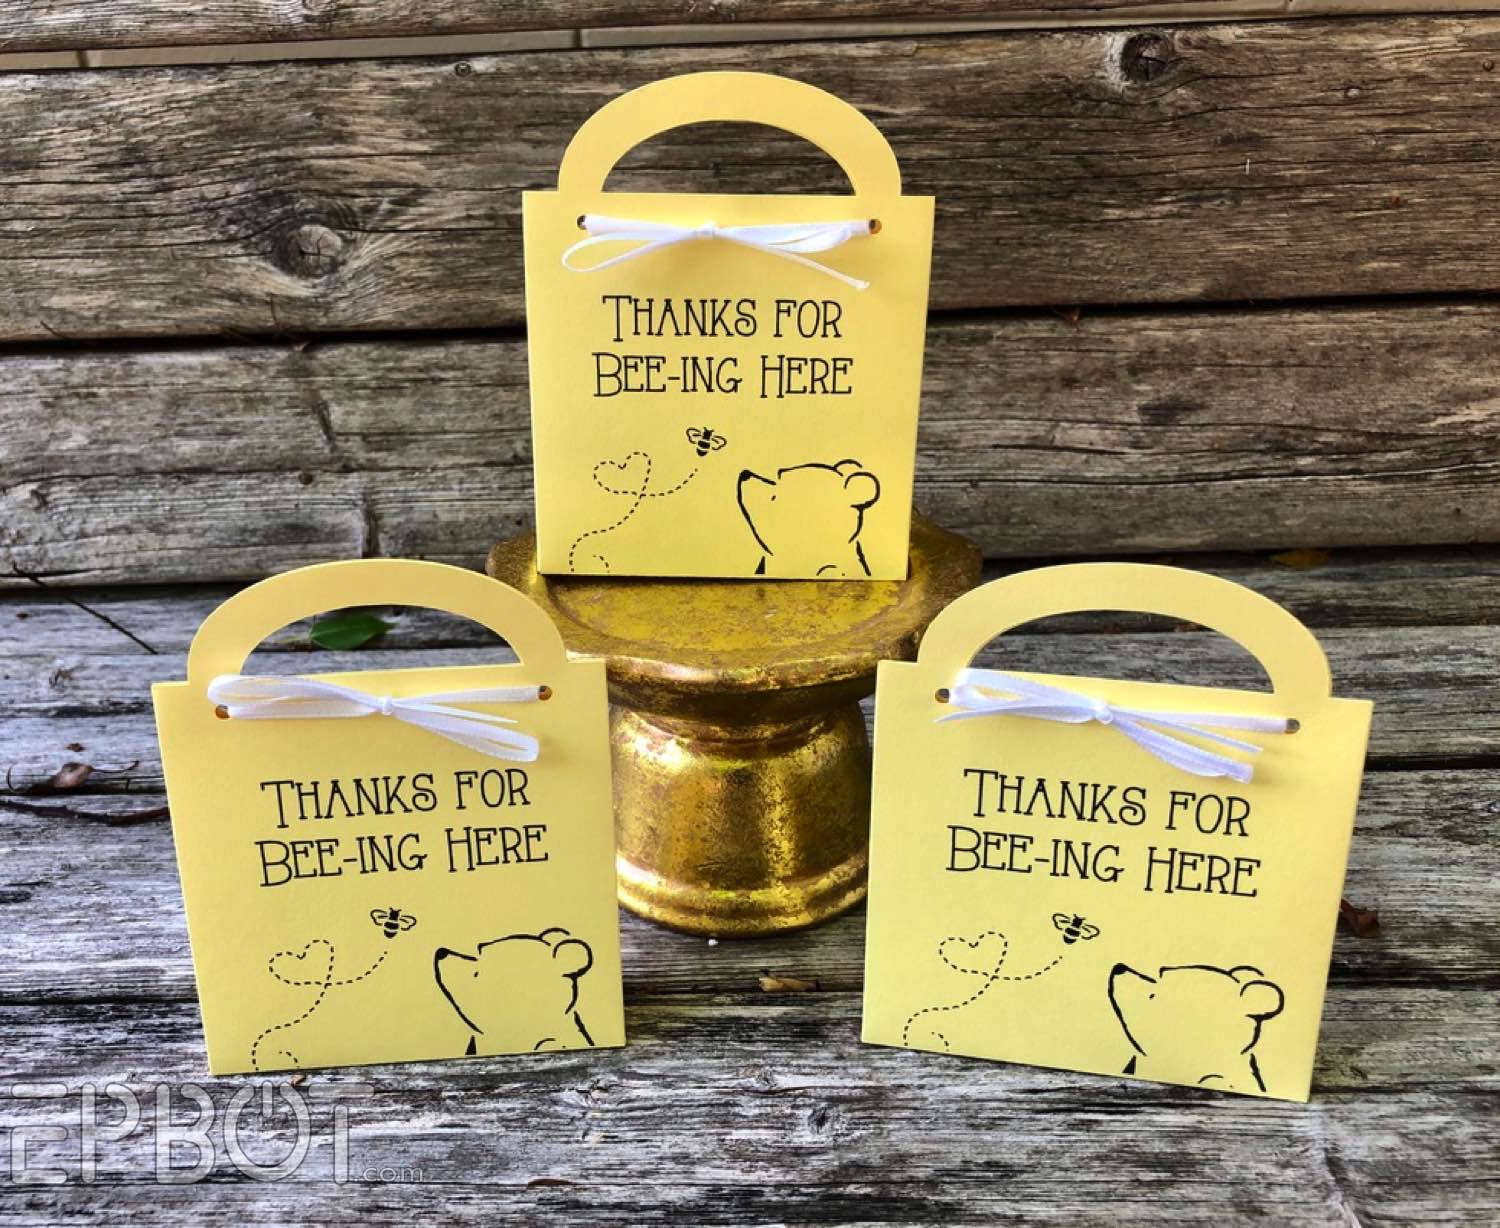
Today, we're talking party favors. I have two options for you: a traditional favor box with a matching earring holder, and some sweet floral headbands I made for the guests to wear.

There are lots of great box templates out there, but John took it as a personal challenge to design his own from scratch. I'm planning to hang these on a small clothesline, so he made a purse style with a handle:


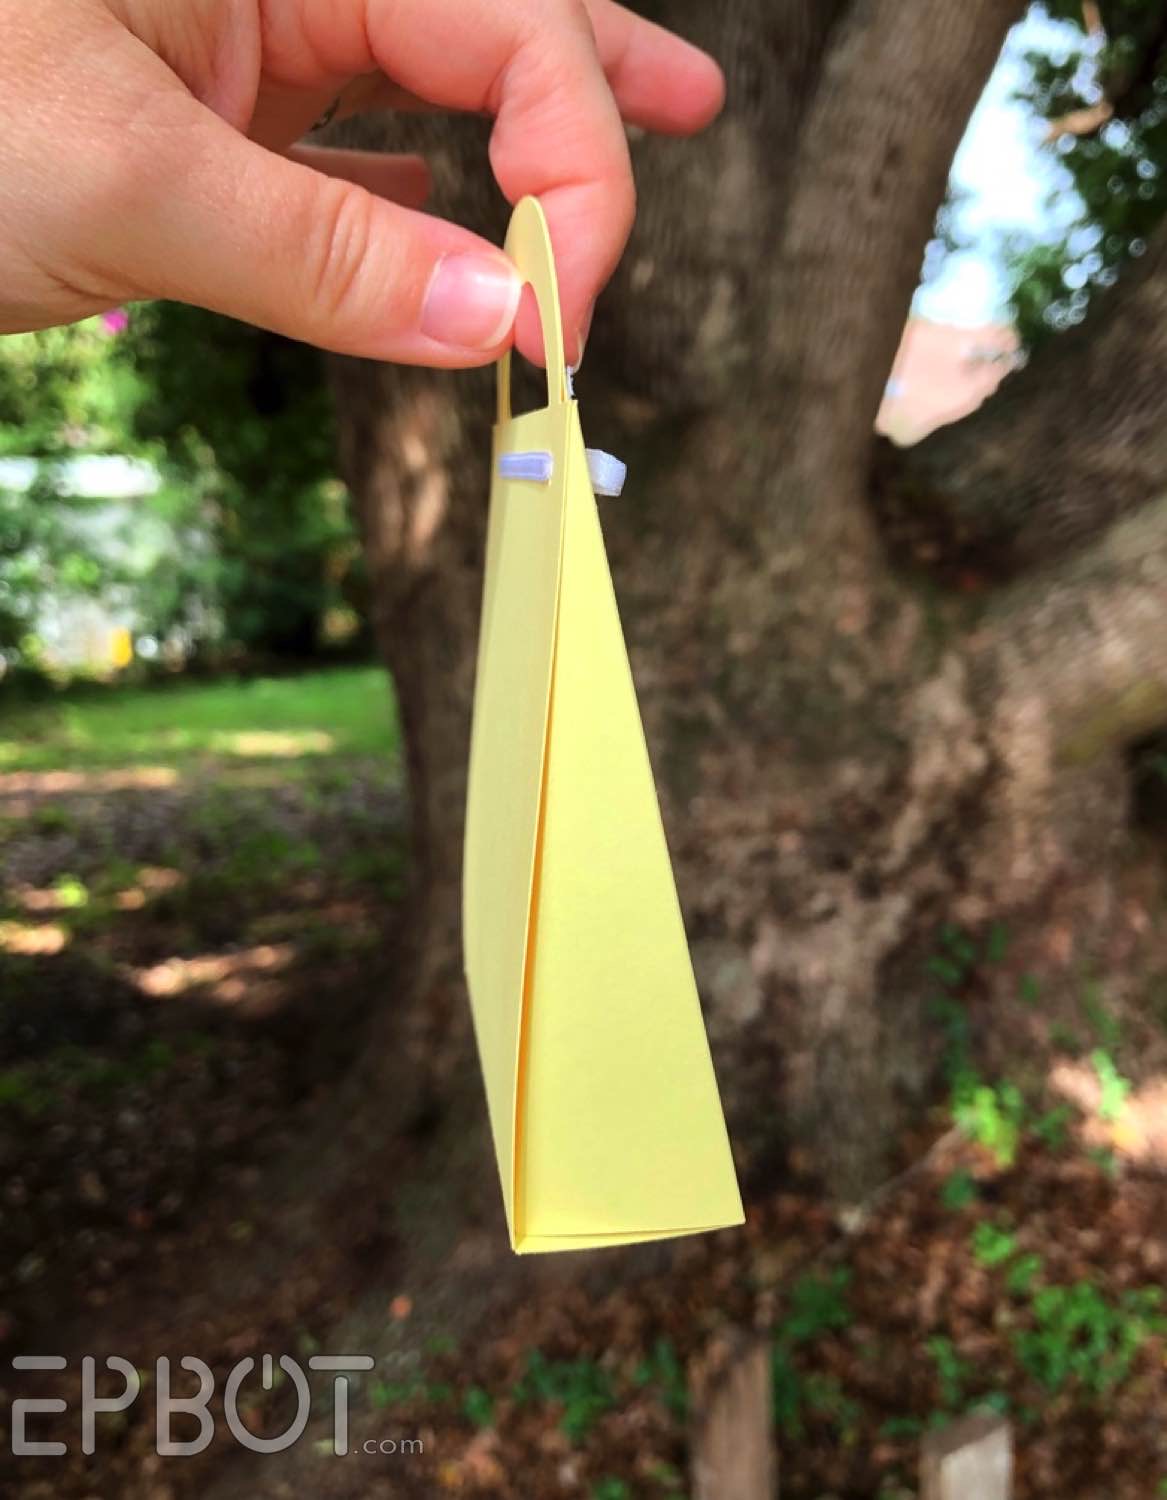
Here's the side view:


No glue required; the ribbon threads through the side pieces to hold it all together.

I know it looks tiny, but these are the perfect size for a tube of Burt's Bees lip balm and a few candies.


OR, you can do what we did, and use them to hold a pair of earrings.

These earrings:


OooOOOooh.

Right?

We made the the card backers using our Cricut, and the earrings I purchased from Shein. Y'all, these earrings cost $1 per pair. This isn't sponsored and I can't vouch for quality, but I can tell you they look friggin' AMAZING for one dollar earrings. (See the tiny bees? SO CUTE.)

They look especially high-end on our backer cards, if I do brag on myself:


This next one was just a prototype, but white-on-white card stock looks kind of amazing, too:

Friday, January 7, 2022

Turn Your Old Calendars Into Pretty Gift Wrapping Bows!

How's your first week of 2022 been, bots and babes? Mine's been pretty restful, since the new year is when things finally slow down over here. Of course I spent exactly two days napping and saying how wonderful it was to relax, then by day three I was prowling the house looking for projects. Ha! (Sorry, John.)

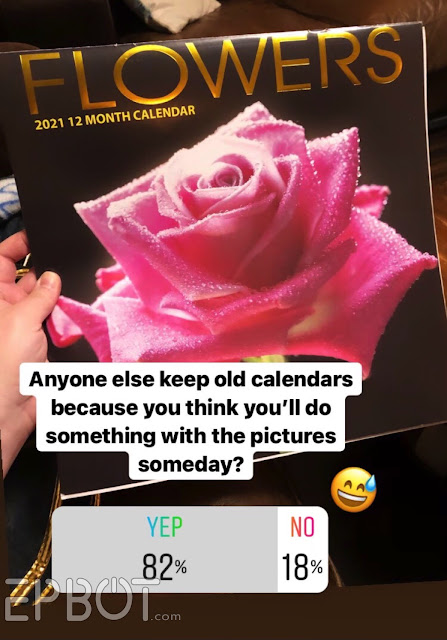
To that end my eye fell on our old 2021 calendar, and I decided to revisit a paper craft I used to love years and years ago.


Oh good, it's not just me.

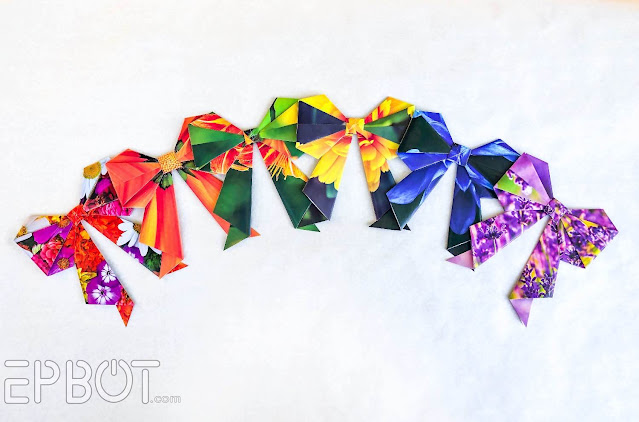
And look what I made!


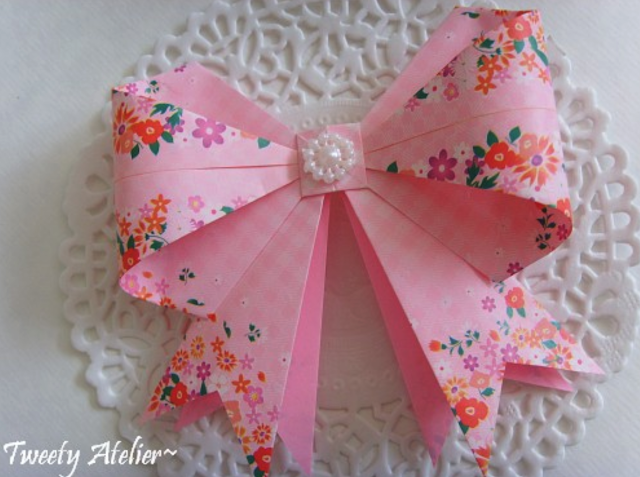
I originally learned this method using magazine pages from one of my favorite - and sadly now long gone - blogs, How About Orange. However the original source seems to be here, where nothing is in English but the pictures are lovely, so it's worth a click just for those:


I especially like the little embellishments in the middle, still need to try that.

Since I don't get magazines anymore I hadn't done this paper craft in ages - but I figure a calendar is basically a big magazine, right?

So after I turned my entire Flowers calendar into bows I thought I might film a tutorial for y'all, since there are a few tricky steps that are much easier to explain on film. A friend gave me her old Space calendar, too, so for the tutorial I got to make galaxy bows, awww yeeeeah:

Tuesday, November 23, 2021

My DIY Ghostbusters Stay Puft Ornament: Free Templates!

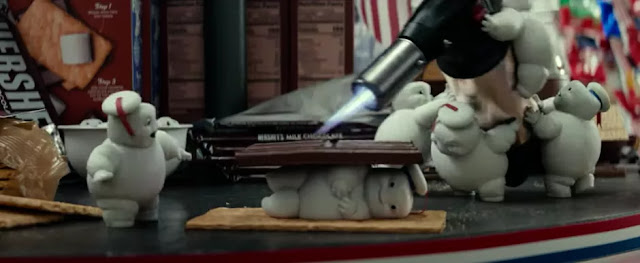
Note: This is a Ghostbusters:Afterlife spoiler-free zone, so don't worry if you haven't seen the movie yet! I will only be referencing the mini-Pufts from the trailers.

****


If you've been here a while you may have noticed I like Ghostbusters.

(My last name even means "gatekeeper.")

... and that I have a particular fondness for that deliciously evil marshmallow, Stay Puft.


(Get you a hubby who jumps onboard the fandom train with both feet, choo choo.)

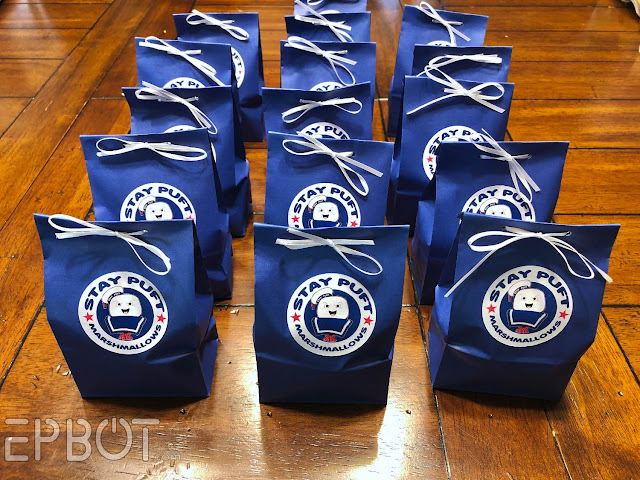
So when the trailers for Ghostbusters: Afterlife started dropping, I started planning. John and I rented a theater for opening night, invited friends, and even made everyone a cute movie-night gift to celebrate:


At first I was bummed that the release date just missed Halloween, but then I realized I could take advantage of the timing and make Christmas ornaments.

So I did.

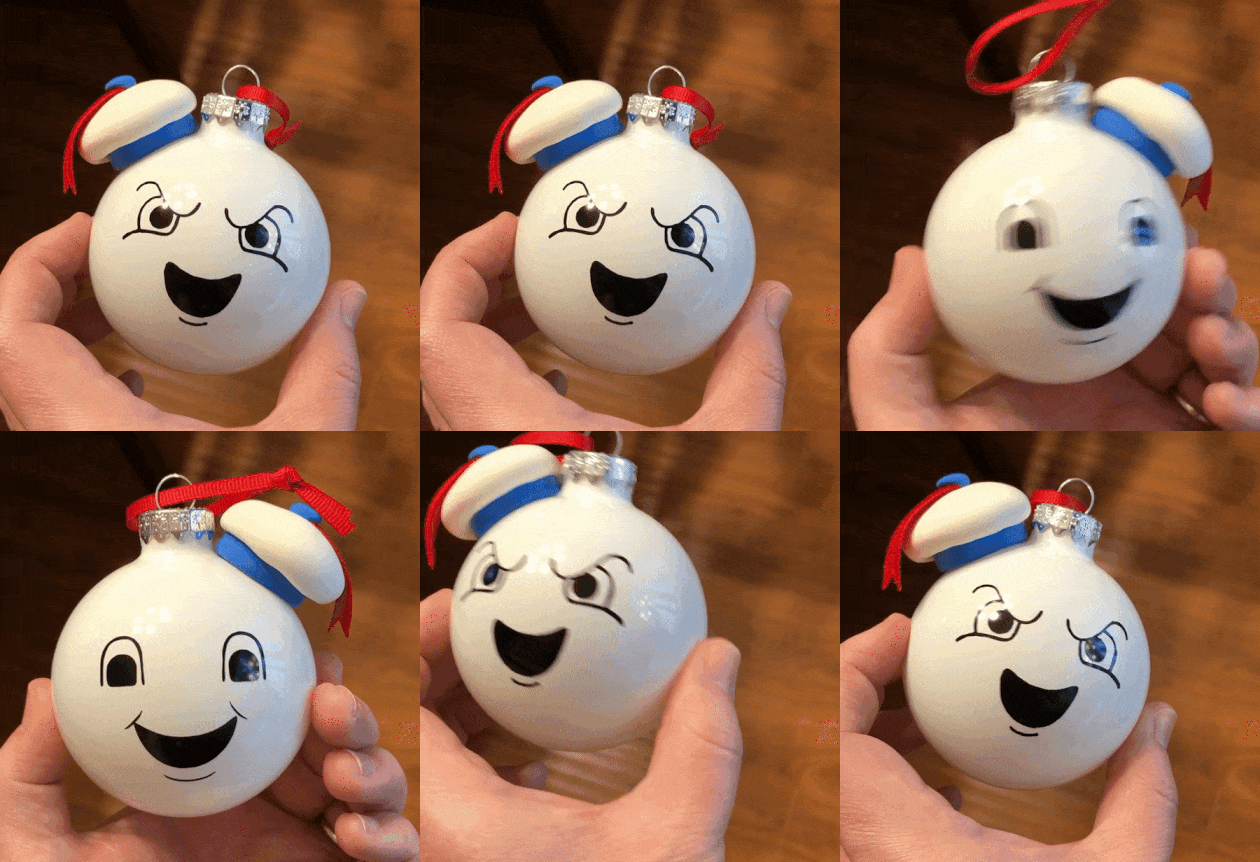
Ta-daaa! Isn't it ADORABLE?? This is either classic Stay Puft or one of the new mini-Pufts, your choice. 


And yes, the hat is slightly squishy. WOOT WOOT.

This is a surprisingly relaxing and relatively easy craft, since I'm about to give you our template cut files for the faces. I'll also include the printable seals John made for the gift bags, so you get the whole package, pun intended. I recommend making an entire Gozer army to festively unleash on your favorite friends and sub-creatures. 
 
You... you've earned it.


John and I shot a quick video tutorial for y'all last night, so here's that first - but you can also keep scrolling for my usual step-by-step photo tutorial. Because I got you, boo.

Tuesday, November 16, 2021

Hang Your Game Controllers With This Renter-Friendly, $1 Hack!

If you play video games - or live with someone who does - you know corralling all the controllers can be a pain. You want them out for easy access, but not cluttering up your end tables.

I'm a fan of wall mounts to free up horizontal spaces, so after a little googling I found these clever stick-on wall brackets from Playstation:


They cost $16 for the pair, though. Harrumph.

So how about we DIY a set of five brackets for just a dollar? Yep, that's it, one buckaroo.

Here's how my one dollar version looks:


They can fit any console controllers, and are practically invisible on the wall.


 John I've been using ours almost daily for about 3 months now, so I can tell you they're super sturdy. Best of all they look so clean and organized! It makes me happy every time I hang my controller up.

We mounted them next to John's chair in the fan cave, so they're within easy reach:


Right, ready to see the big one dollar secret?

All you need is this pack of tool hooks from Dollar Tree:

Friday, September 17, 2021

3 Halloween DIYs Using Dollar Tree Baby Dolls That You'll Either Find Funny & Cute Or Super Creepy


 Today we're dismembering baby dolls, my friends, but it's all in the name of creepy/cute Halloween crafts. John tells me this time of year brings out my "weird and morbid" side, so let me apologize now for just HOW amusing I find these DIYs. I'll try to keep my shrill cackling to a minimum.
 

NOW. Let me show you how to take these Dollar Tree baby dolls:


... and turn them into THREE different Halloween crafts, using 3 different parts of the same dolls, in 3 varying degrees of "oh no you DID NOT" creepitude. Whether you like cutesy, creepy, or white-knuckled terror, I promise this post has something for everyone!

To ease you in, let's start with the cutest craft:


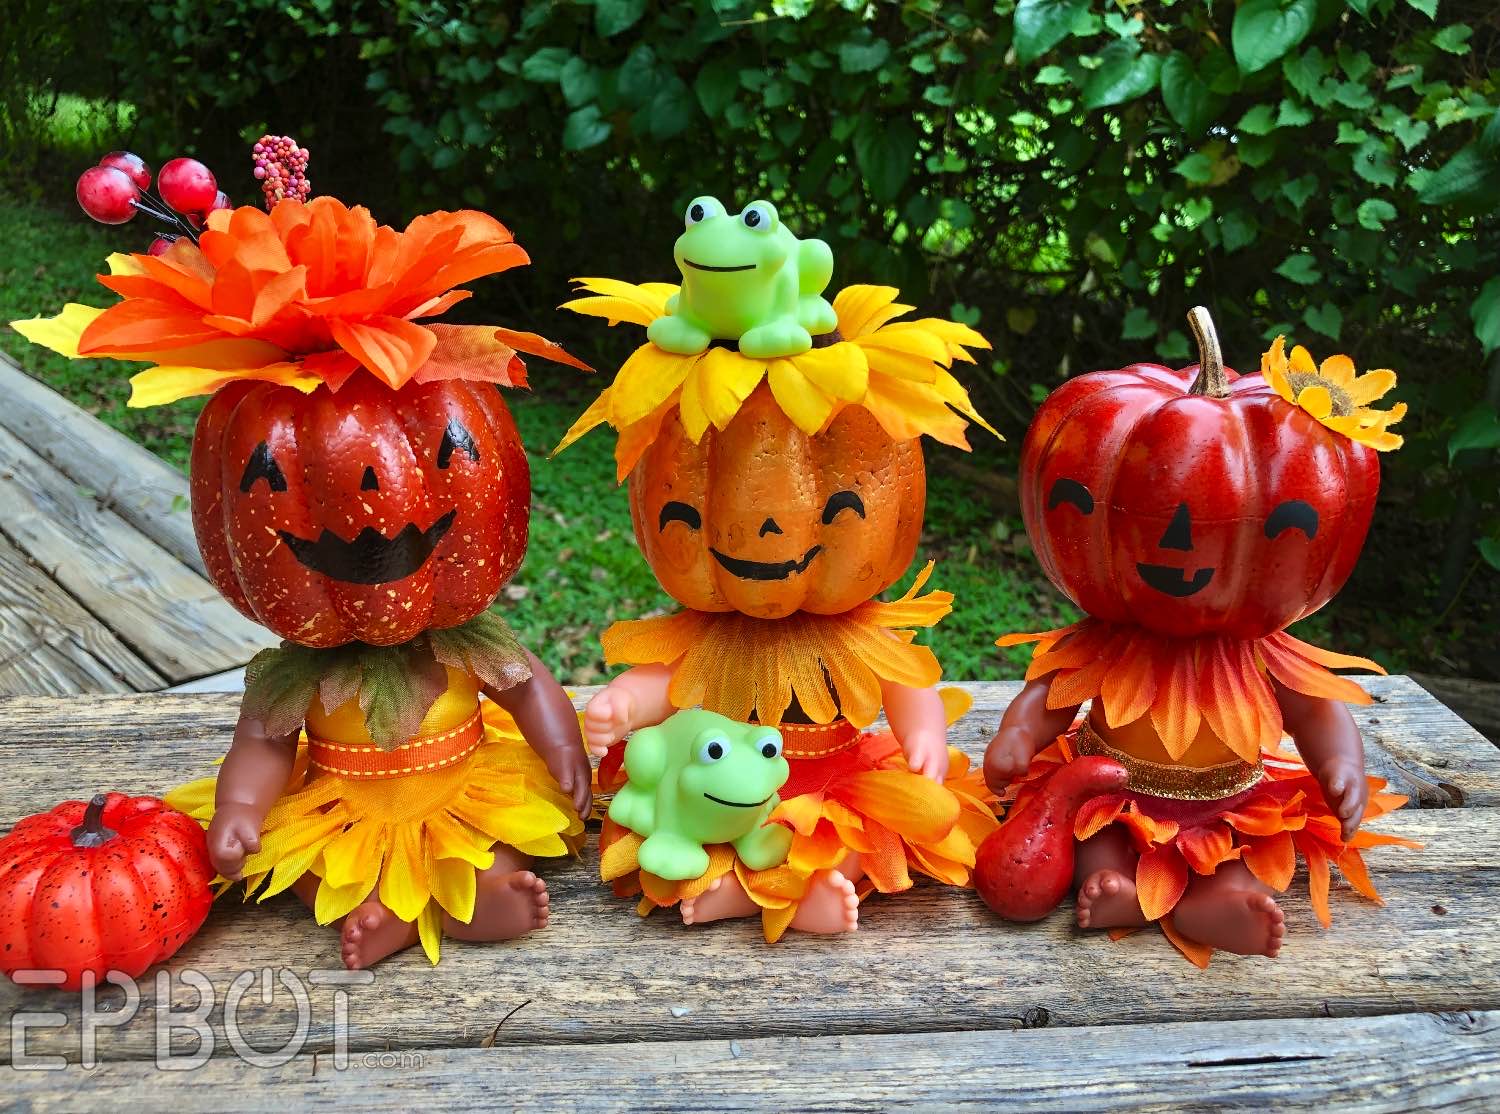
My pumpkin head babies!

When I was working on these I did a Very Scientific Poll and discovered *most* of you agree they're more cute than creepy - but I do like that they have that edge, to keep things interesting:


You can blame Over The Garden Wall for this inspiration, or more accurately, Rachel Maksy and her Over The Garden Wall-inspired pumpkin lady, which John just now walked in, saw on my screen, and demanded I remove, bahaha.

Here, I'll make the photo small, John, maybe that will help:


::squints:: Orrrrrr not.


Anyhoo, my Pumpkin Babies are easy-peasy and fun to make. Everything you need is at Dollar Tree: the doll itself, a foam pumpkin, 2 or 3 silk flowers, and a little decorative ribbon for the waistband:


That's about $3 per baby, a frighteningly good deal.

First, pop off the baby's head. This is best done in front of friend during casual conversation for maximum impact. (Sorry, Arielle.)

Be sure to set the baby head aside... for later. ::eyebrow waggle::

Tuesday, August 24, 2021

Shiny! A Dollar Tree DIY For Firefly Fans

I'm back with the matching set of our Firefly dino mirrors!


Remember I told you Dollar Tree also had a matching T-Rex mirror?


Well, I think we chose... wisely... for the second quote:


Plus John really nailed the design. SO GOOD.


If you're not a big Firefly fan - or just need a refresher - here's 42 seconds of context:


:D


It turns out etched mirrors are a real booger to photograph, but I asked John to hold a sheet of cardboard behind me and I think we made it work:


At least in real life these are clear and easy to read. But more importantly, they're a perfect quick craft for you Firefly-loving Cricut owners! Especially since I'm about to give you the cut files... for free. AW YEAH. Who loves ya the way sneaky T-Rexes love betraying their friends? THIS GAL.

Wait, that... may not have been the best example. ::squints thoughtfully::


 Anyhoo, first things first, go snag these babies from your local Dollar Tree:

Friday, July 23, 2021

Friday Smiles: Adorable DIY Soot Sprites!

S'up, fam? Happy Friday!

To celebrate surviving another week, I have a new cute craft for you. Ready?


BOOM

Even if you're not a huge Miyazaki fan, I bet you like Soot Sprites. They're small, they're cute, they go great with pastel stars... what's not to love?

You can see them in Spirited Away and My Neighbor Totoro.

So hey, let's make some!

These fluffy cuties are infinitely customizable, which makes them great for group crafts. Here's a batch from my Friday night group: 

I love all the different expressions, from curious to crabby to gleefully stealing things, ha. This isn't all of them, either; I'll show you more as we go!

Of course you could make easy Soot Sprites from pom-poms and googly-eyes, but our version is bigger and sturdier. Best of all, they fit PERFECTLY in the plastic cloches from Dollar Tree, which makes them look more like high-end collectibles.

In fact you can find most of what you need for these at Dollar Tree, let me show you:

Friday, July 2, 2021

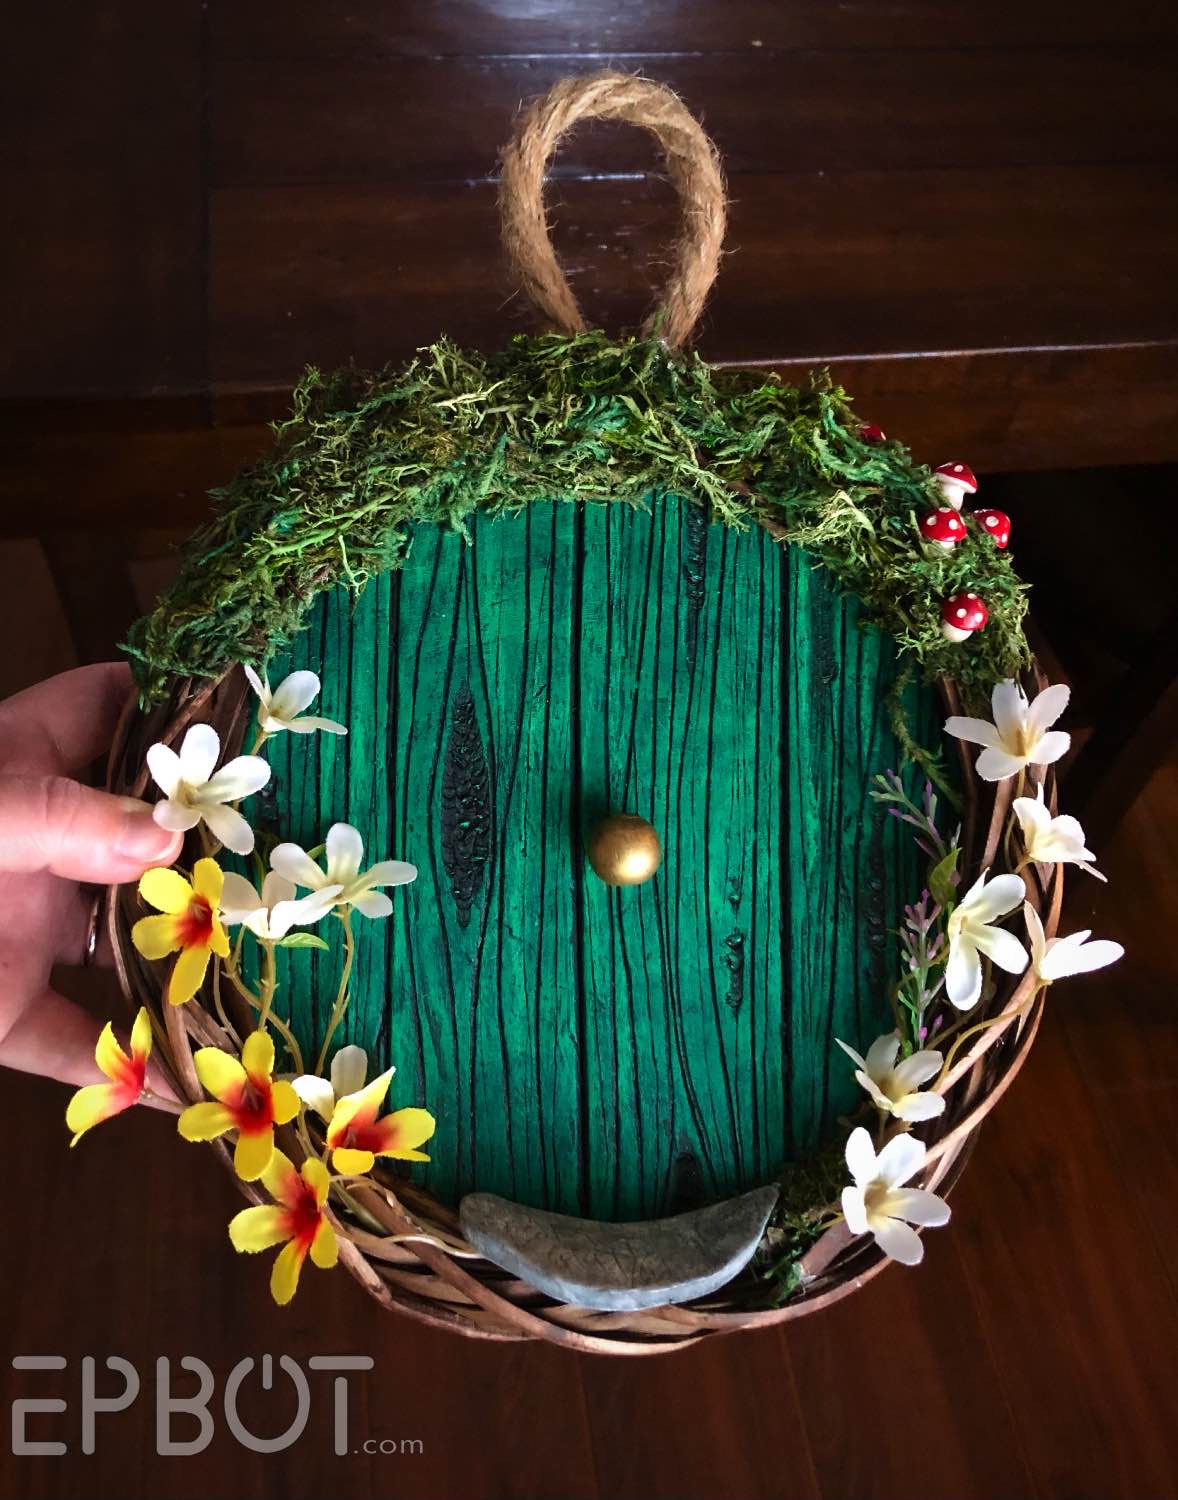
New Dollar Tree DIY: Hobbit Door Wreaths!

I've got a super fun DIY for your next craft night, gang; this was a huge hit with my group, and I think my favorite thing we've made all year:


Hobbit Door Wreaths!

Or alternatively, Fairy Door Wreaths.

In fact that's what I love about these: they're infinitely customizeable. And - AND! -  you can buy everything you need from Dollar Tree, so they only cost a few dollars each to make.

Here's my Friday Night group hard at work on theirs:


I'll show you all their finished wreaths as we go along.

First, let's talk materials:


 I found the wreaths, flowers, rope hangers, moss, and I think even the wood beads all at Dollar Tree. The only thing not from DT on mine are the tiny mushrooms and the insulation foam we used for the doors - but here's a handy foam substitution you CAN find at Dollar Tree:


Did you know you can peel off the paper backing from DT foam board? I just learned this trick from Studson Studio, my new favorite Youtuber. You can stack the foam together to make thicker pieces, and just like pink or blue insulation foam, this stuff carves & textures like a dream. Perfect for woodgraining.

Again, we used pink foam because we have so much in the garage, but everything I'm about to show will also work on DT foam.

Last thing: be on the lookout for things you can turn into tiny door handles. Wooden beads, jewelry pieces, or these finger puzzles from Dollar Tree all work great:

Tuesday, April 13, 2021

DIY: "Beauty & The Beast" Stained Glass Rose

'Sup, fam?

I napped most of my weekend, which was aces, but I also had what we're gonna call an "ouchie" (technical term) in a sensitive spot. One might even say the MOST sensitive spot. So when I wasn't napping I was hobbling around the house clutching a heating pad to my nethers or lowering myself verrrrrry slowly into a recliner while glaring at John so he wouldn't laugh.

I bet you're thinking John was too sweet to laugh, aren't you?

WELL.

Saturday night he found me spread eagle on the couch wearing a hot pack like a diaper and there were straight-up GUFFAWS.


And now I will think for a moment on how to transition this intro into a craft tutorial for faux stained glass.

::thinks::

::thinks harder::

A-HA. 

 I've got it.

Ahem hem hem.

Hey, kids, you know what ELSE is a pain?

[...]

GLASS PANES.


So today we're going to turn a dollar store frame and some nail polish into this beauty:


::hums "Tale As Old As Time"::

Check out the sparkle:

OoooOOoooh.

I bet you've forgotten all about that mental image of me in a hot pack diaper now, haven't you?

Excellent.

SO... this is a perfect Craft Night project for small groups, though it will take you 2 nights, so you can let things dry.

First find a stained glass pattern you like, and print it to fit your fame. I'm using a 5X7 frame here:

Tuesday, March 30, 2021

Dollar Tree Quick Craft: Make This Crescent Moon Wreath For Less Than $10!

Confession: I love crafting, but I loathe wreath making. The art of floral arranging is just so dang loosey goosey; you plop flowers here or there 'til you like the look, because there are no wrong answers, and I hate that. I need rules! I need exact check boxes and instructions! How else will I know if I did it perfectly?!

So anyhoo, today we're making a wreath that should take most of you about an hour or two to whip together, but took me an agonizing 7 or 8 hours spread over 2 days. I am not proud of this. My brain battles are exhausting and joy-sucking. But! After multiple go-rounds of ripping things off and trying again, I'm reasonably proud of the finished product:

::exhausted jazz hands::  ta-daaa

I genuinely love this DIY in theory: it's a clever twist on traditional wreaths, you get to hang fun dangly things off it, it only costs about $10 to make, AND you can find everything you need at Dollar Tree.

Here, let me walk you through the basics.


YOU WILL NEED:

This wreath form from Dollar Tree. While you're there, you'll also need:

- 2 rolls of burlap ribbon

- 4 or 5 bunches of silk flowers & greenery

- Duct tape

- (optional) twine or string and pretty beads to make the dangly bits


Cut a section off the wire wreath form so it looks like the letter C: 


Next use duct tape to wrap each end into a taper, like this:


Wrap your wreath form in burlap ribbon, hot-gluing here and there to keep it all in place:

This takes slightly more than one roll of ribbon, but you'll have most of the 2nd roll left. The ribbon gives you a base for hot-gluing everything that comes next.

Now the hard/fun part: decorating.

::shudder::

I recommend googling "crescent moon wreath," because there are some GORGEOUS styles out there: everything from succulents to moss-and-mushroom covered pretties.
I only wanted to use what I found at Dollar Tree, and happily I found some long floral branches that taper,
perfect for each end of the moon: