Showing posts with label Christmas. Show all posts

Friday, December 23, 2022

Wishing You A Happy Hobbit Holiday!


Happy Friday, friends! It's almost Christmas, WE MADE IT. I do hope you get some time off this weekend and/or next week to recharge and hang with loved ones. I know I'm looking forward to some much-needed down time. And pie. (Mmmm, pie.)

I won't keep you long today; I just have to show you our decorated Hobbit Door!


AAAAAA LOOK HOW PRETTY AND FESTIVE

It's a point of pride with me that we didn't buy anything new for this, other than a bag of cotton batting for "snow." The wreath is scrap Pex tubing from the garage, then two different garland remnants I painstakingly disassembled and zip-tied in place.

Speaking of wreaths, here's another pretty one:
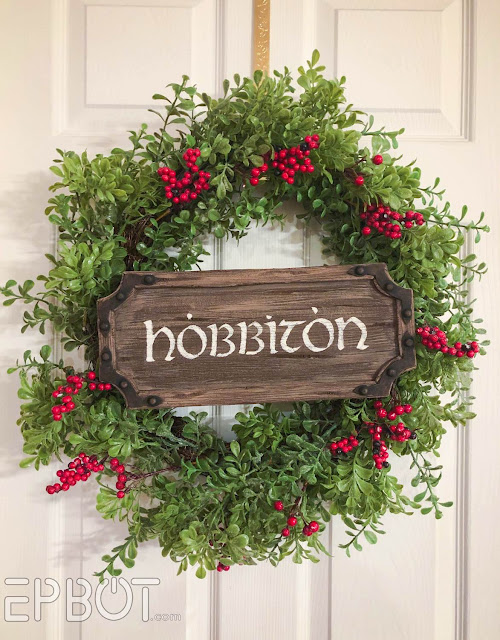
I made the Hobbiton sign for craft night several months ago. It's made of foam with googly eyes for rivets.

K, back to the door:


The garland is the one we use almost every year over this doorway. It has sparkly fruit in it, perfect for Hobbitses.

I spent so long trying to get the "snow" to look right.

The snow in the bottom of the wreath hides the battery pack for the lights. 

So hey, ready to go inside?

Tuesday, December 13, 2022

Our DIY Dragon Hoard Christmas Tree

John and I had such an amazing Dapper Day Saturday that we went back for more on Sunday. Which means I'm a day behind and have twice the content, oops. So I'll bring you those photos and fun stories on Friday, k?

In the meantime, here comes another Hobbit Holiday build: our Dragon Hoard Christmas tree!


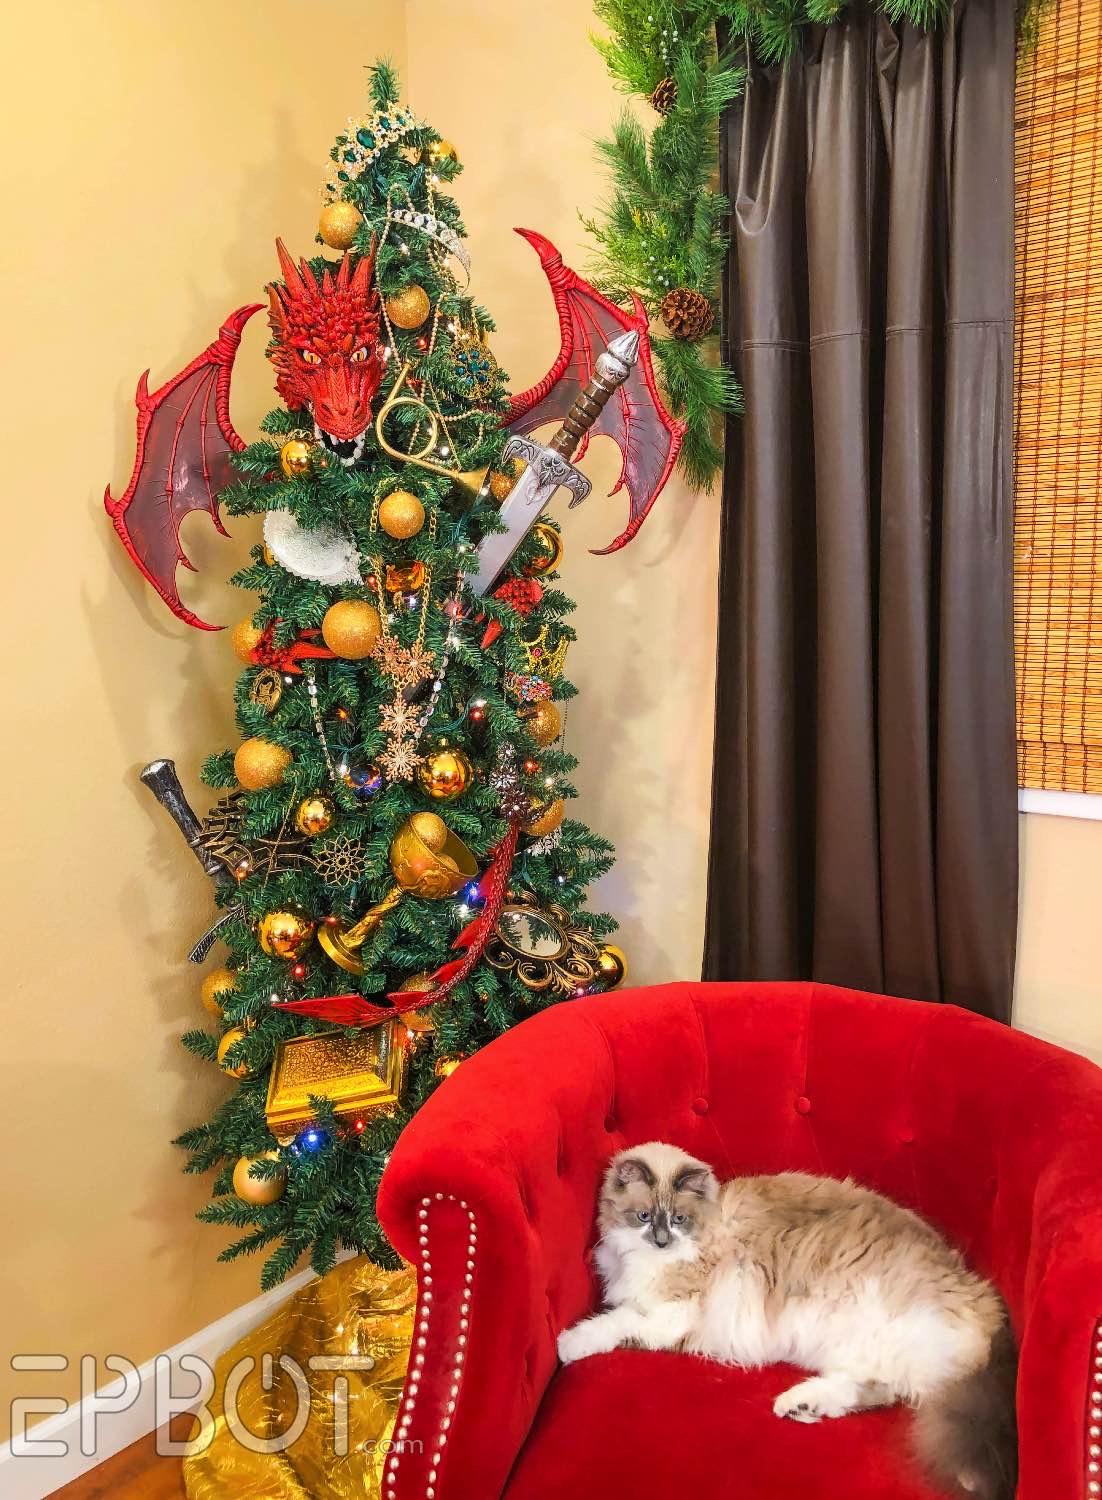
Yes, our mini Smaug has amassed his own treasure pile in our this corner tree, and is fiercely protecting it from the cats.

"MINE."

The tree is full of giant gems, strands of pearls, medallions, mirrors - basically every gold and/or sparkly thing our house had to offer, plus gold Christmas balls for fill.

I re-painted a plastic Tangled goblet to make that fancy chalice, and I think the gold box held candy?

I also hit up my friend Traci's cosplay closet for some foam swords and a bunch of sparkly tiaras, which make a fantastic tree topper:


I plan to keep adding "treasures" as I either find or make them, so the hoard should grow by party time.

In fact this would be a great thrift store project! Paint lightweight tchochkes gold, maybe bedazzle them with plastic rhinestones, and boom: instant treasure.


These are parts of a Christmas sprig I glued to a broken chain belt. :D

A Dollar Tree mirror from my stash. I had to get creative since we haven't had time for a thrift run.


"Ok, Jen," I can hear you saying, "That's great. BUT WHAT ABOUT THE DRAGON?"

Ahhh, that's the best part!

Friday, December 9, 2022

We Made A Life-Sized Hobbit Door For Our House!


Happy Friday, po-tay-toes & hobbitses! Remember when we made these?


What do you say we make a life-sized one? With a functioning door? For a Hobbit party?

I'm getting strong "yes" vibes over here, so I'll assume those are from you.

LET US PROCEED.

John and I turned once again to our trusty not-sponsor - but we're open, Pink Panther, just sayin' -  pink insulation foam.


Blocking out the basic shapes - and quickly discovering that threshold was a face-plant waiting to happen, ha. That'll get lowered later.

This will not be Bilbo's iconic door, because we wanted something less character-specific. And red, to be more festive. Our inspiration was this other Hobbit hole in New Zealand:


via Rachael Christian

So pretty, right? Just imagine it all decked out with lights and snow for Christmas!

Once we had all the pieces we starting adding wood grain texture:

I used an awl for the lighter grain and knots, then John sliced V grooves with a craft blade for the deeper cracks.

Four pieces of foam stacked & glued to make these honkin' corbels:

My wood grain's not great on this side, shhhh.


Once we painted everything brown it really started coming together:

Tuesday, December 6, 2022

I Went As The Grinch To A "Dress As Your Favorite Christmas Movie" Party

Hallooo, early December survivors! Have you watched your favorite Christmas movie yet this year?

Many of you know my somewhat-controversial favorite...


THE UNMITIGATED GALL

... so when our friend (and FoE) Arielle invited us to a "Dress As Your Favorite Christmas Movie" party...


... there was only one clear choice.


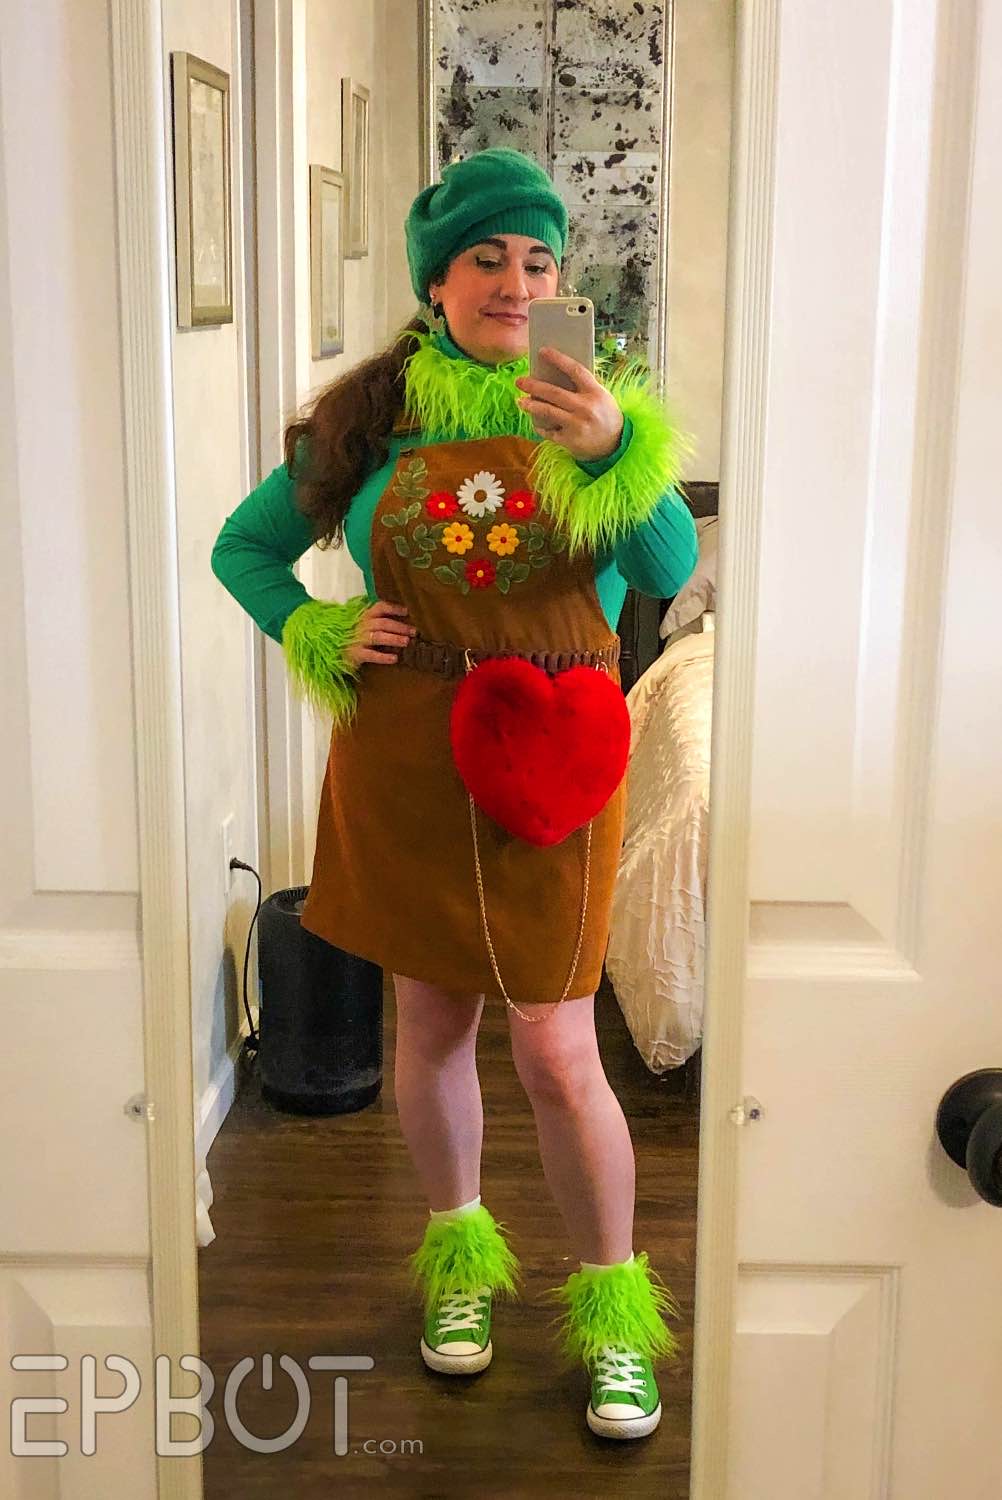
GRINCH IN LEDERHOSEN.
This look is so hot this season.

Which is why I can't wear fur in this 85 degree heat, and decided on more of a Grinchy cos-bound.

This took more work than I expected, so I'll link you everything I used at the end of the post. Also keep scrolling, because I have LOTS more party costumes coming up!

Here's a better reference for the embroidery I tried to match:


Aaaaand here's my finished look!

The "extra large" heart is a purse I clipped to my belt, and it's so chinchilla-soft I couldn't stop petting it. Ahhhh.

I'm also wearing paper earrings made on our Cricut:

Friday, December 2, 2022

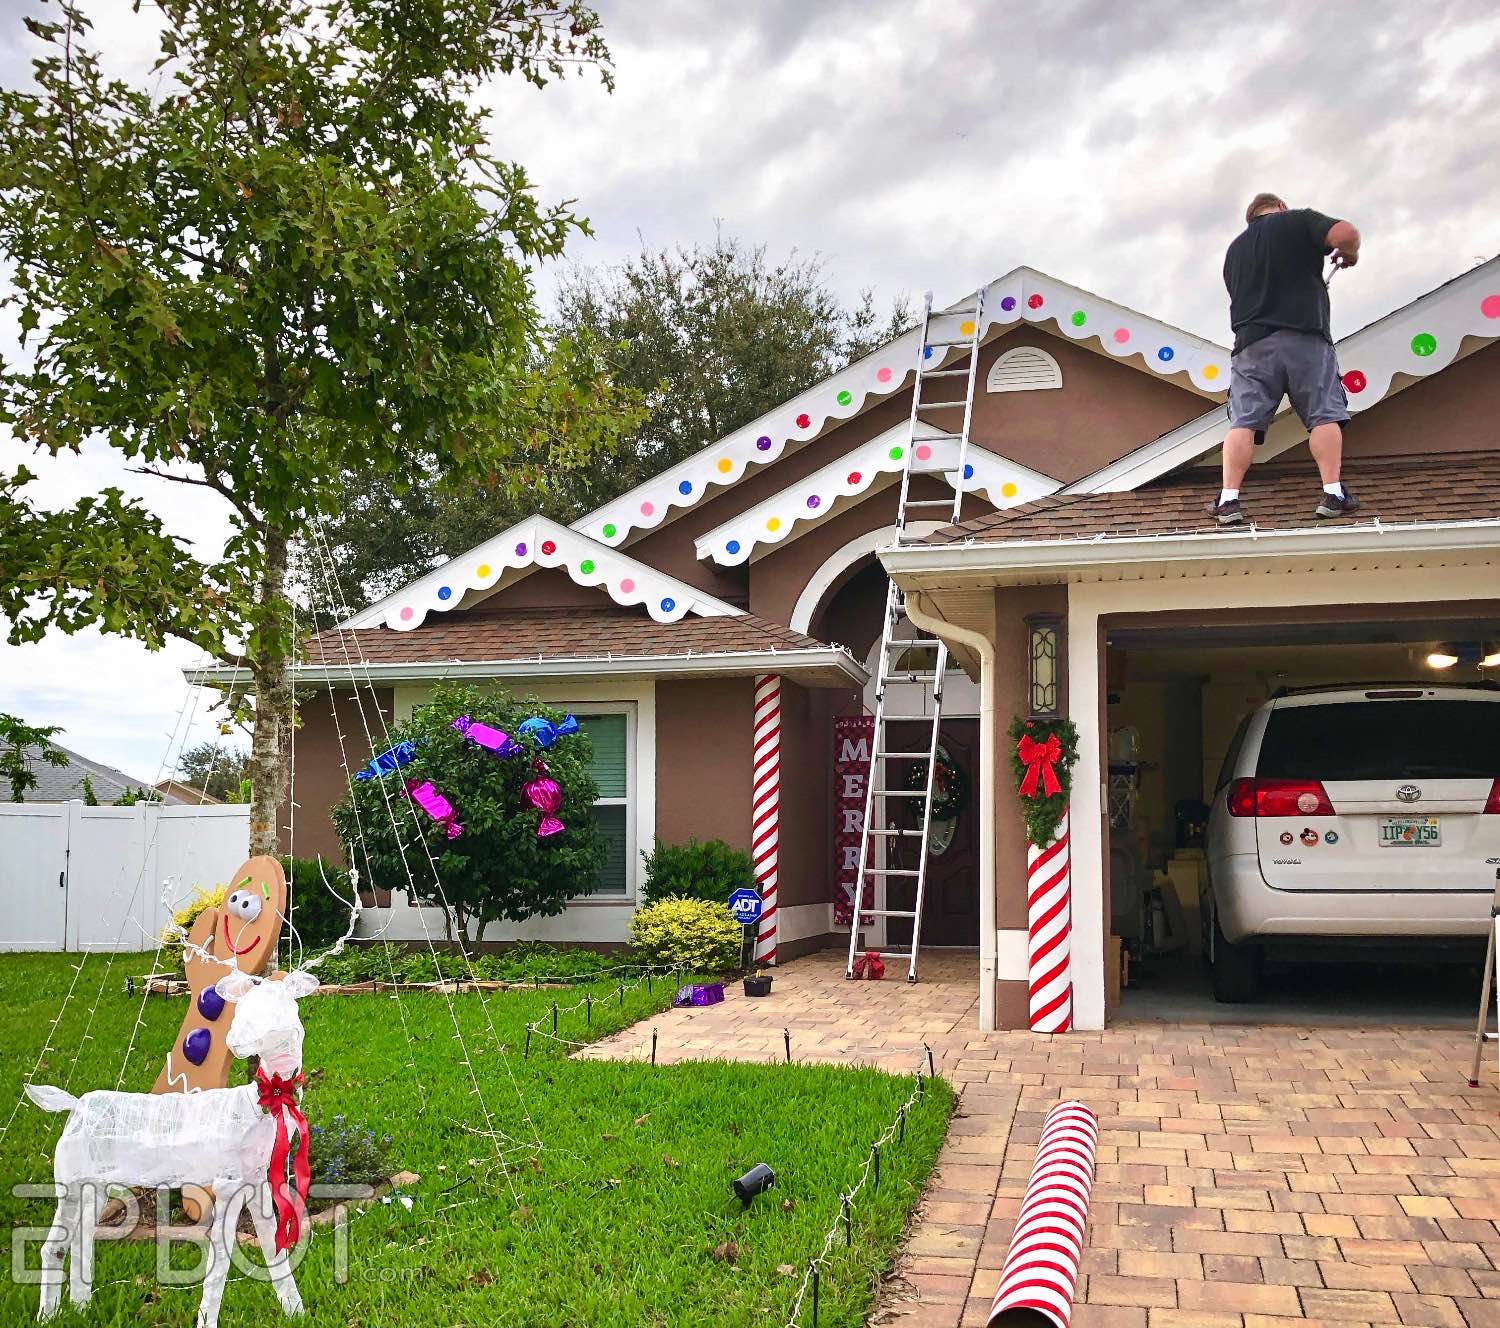
Turning Our Friends' Place Into A Life-Sized Gingerbread House, Final Reveal!

Happy Friday, my festive Festers! Ready to get your gingerbread house on?

This project has had a lot of ups and downs since we last spoke. Or downs and ups, as things kept falling off, hehehe.

That's the slightly unhinged chuckle of a woman who is one more mishap away from renting a flamethrower, btw. BUT WE MADE IT. And so far, knock on gingerbread, the Gingerbread House still stands.


Our battlefield of candy carnage.

So now that we've learned absolutely everything the hard way, let me show you all the things we did wrong last time, and our fixes that seem to be working.

Btw, to the person who so sweetly commented last time that we "make it look so easy!" - this is for you:


First let's jump in with some beauty shots, because I'm a desserts-first kinda gal:

::trumpet fanfare::


Eagle-eyed readers will spot the difference in these shots, but shhhh. We'll get to that.


The house doesn't look too different from my last sneak peeks, but the icing trim on the roof line got a major upgrade.


Originally we made the icing from plastic tablecloths, which was thinner, more translucent, and VERY wind-catchy:

Tuesday, November 29, 2022

Orlando's Festival Of Trees 2022, Part 2

Happy post-Thanksgiving work week, gang, how ya hanging in?

John and I just sat down to go through all our planned December activities and posts, so I already need a nap, heh. The month fills up fast when you want to do ALL THE THINGS, right?

First things first, though, let's get our holiday sparkle on with the rest of my favorites from Festival of Trees! (Click here if you missed Part 1.)

Beginning with the last thing I expected at this swanky Festival: a Dollar Tree DIY.


A really GOOD Dollar Tree DIY, though.

Look closely; those are all DT plastic bowls stacked and glued together, with fairy lights tucked inside.


SO COOL. They made different designs by switching up the combinations of bowls!

The only parts not from DT are the trees on top, but maybe we could make a cone from clear DT cutting mats? Hmmm. Or really, some of these would made great stands without the tree: you could put candles or greenery on top instead.

Moving on to the slightly more realistic trees with a deliciously over-the-top Elvis theme:


The action figure topper wouldn't be my choice (too small!) but the rest of this "Blue Christmas" is perfection:

Toy guitars, records, gold sunglasses, and even tiny blue suede shoes:

Yesss. I'm not the biggest Elvis fan, but I'm all about committing to a theme.

Which brings me to my favorite Festival tree this year. That's right, you're getting it early this post, no need to scroll to the end!

Now at first glance, this tree isn't the most spectacular... but wait for it.

Friday, November 25, 2022

Orlando's Festival Of Trees 2022, Part 1

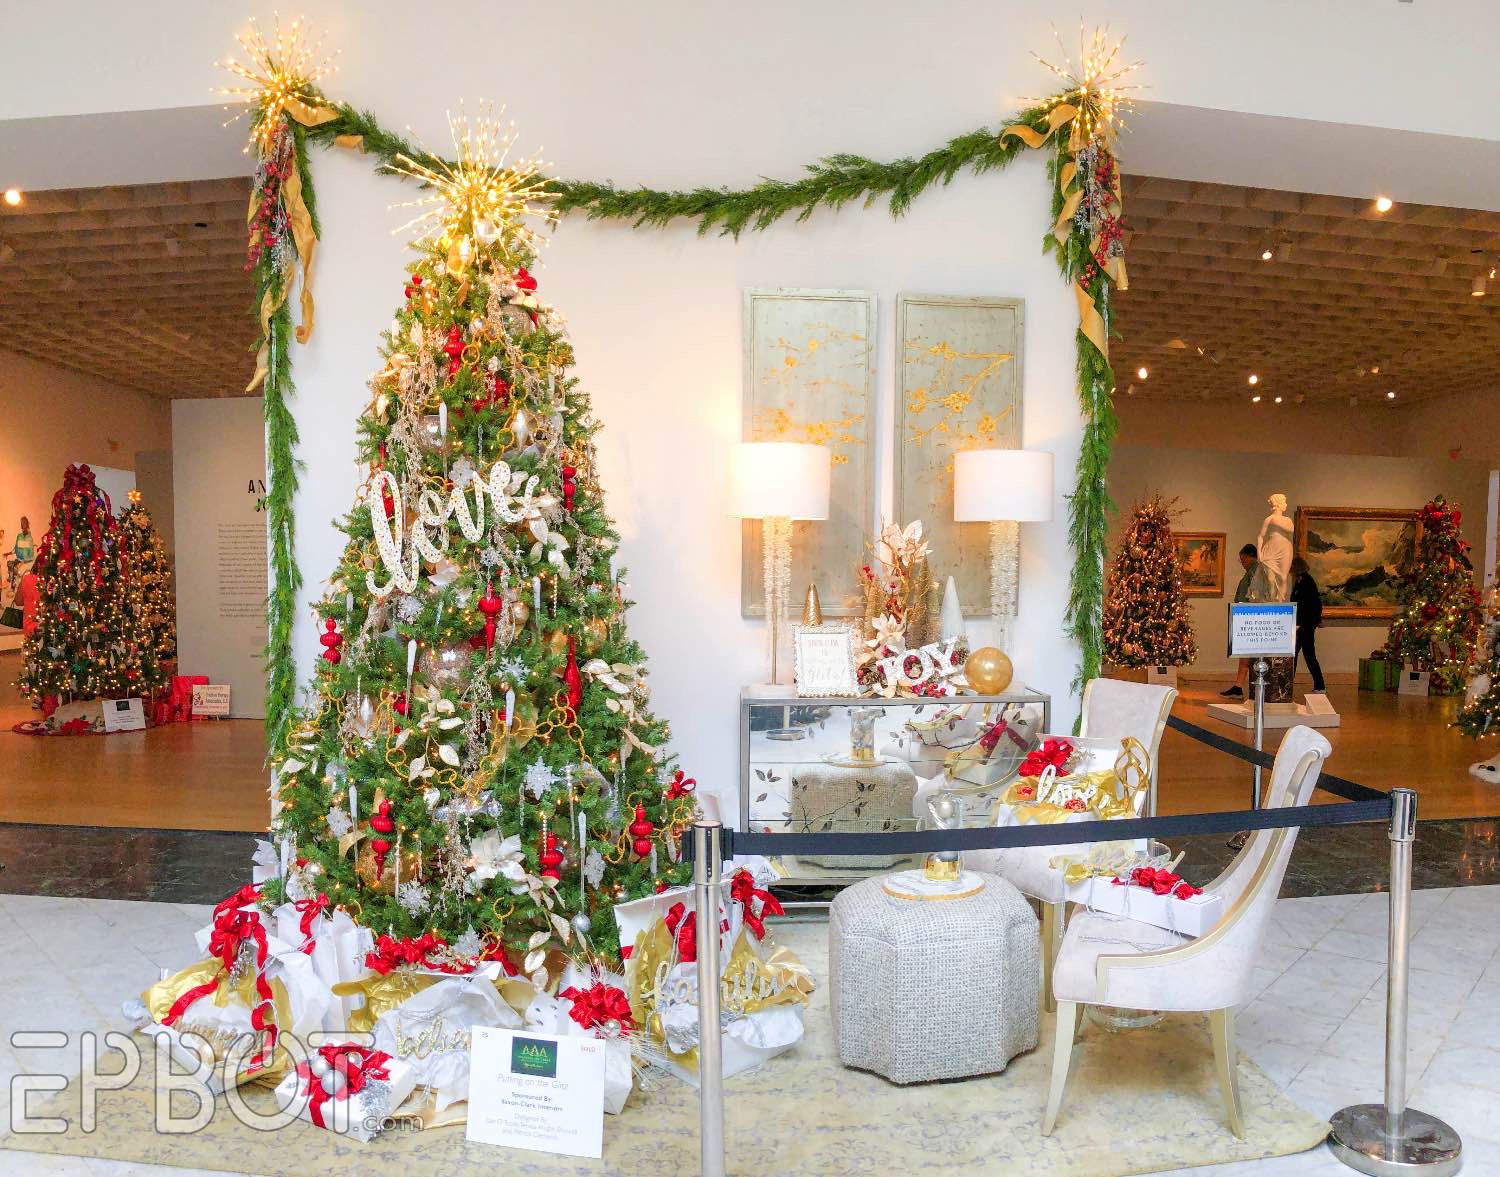
Happy Twinkle Light Season, friends! It's time for the Festival of Trees, my annual tradition of taking WAY too many Christmas tree photos, and then foisting them all on you so we can nerd out over design trends together.


Our Festival is held in the Orlando Museum of Art, and for the first time in YEARS (even pre-Covid) I'm thrilled to report the Festival has actually grown. I've been bemoaning the dwindling tree numbers for a good 4-5 years now, but this year they turned it around and filled nearly the entire museum! YASSSS.

Needless to say I have lots to share, so let's dive in.


This year's entry tree had flying cherubs over top, and was filled with iced berries and fluffy white birds:


I love that the tree sits on a giant mirror; reflects all the sparkles! I bet we could get the same look with a little mirrored foil/mylar wrapped around a foam board base. Eh?

See, the brain-storming has already begun.

The main hub has a few larger room vignettes:


I like all the extras like the swagged garland with those firework lights - which I reeeelly want for our Hobbit party. (Plus they make a cool tree topper!)


Here's a pretty woodlands theme, although the top looks a little bare:


Heart eyes for this owl ornament!


This flocked tree would look amazing against a darker wall:

Tuesday, November 22, 2022

Turning A Friend's Home Into A Giant Gingerbread House, Part 2

Our last-minute gingerbread house project got a little out of hand; now I want to make ALL the cute giant sweets!

We're nearly done, though, so let me show you some fun DIYs:


1) Giant Wrapped Candies:


These are cheap and easy to make, but pack a HUGE punch. I love them so much.

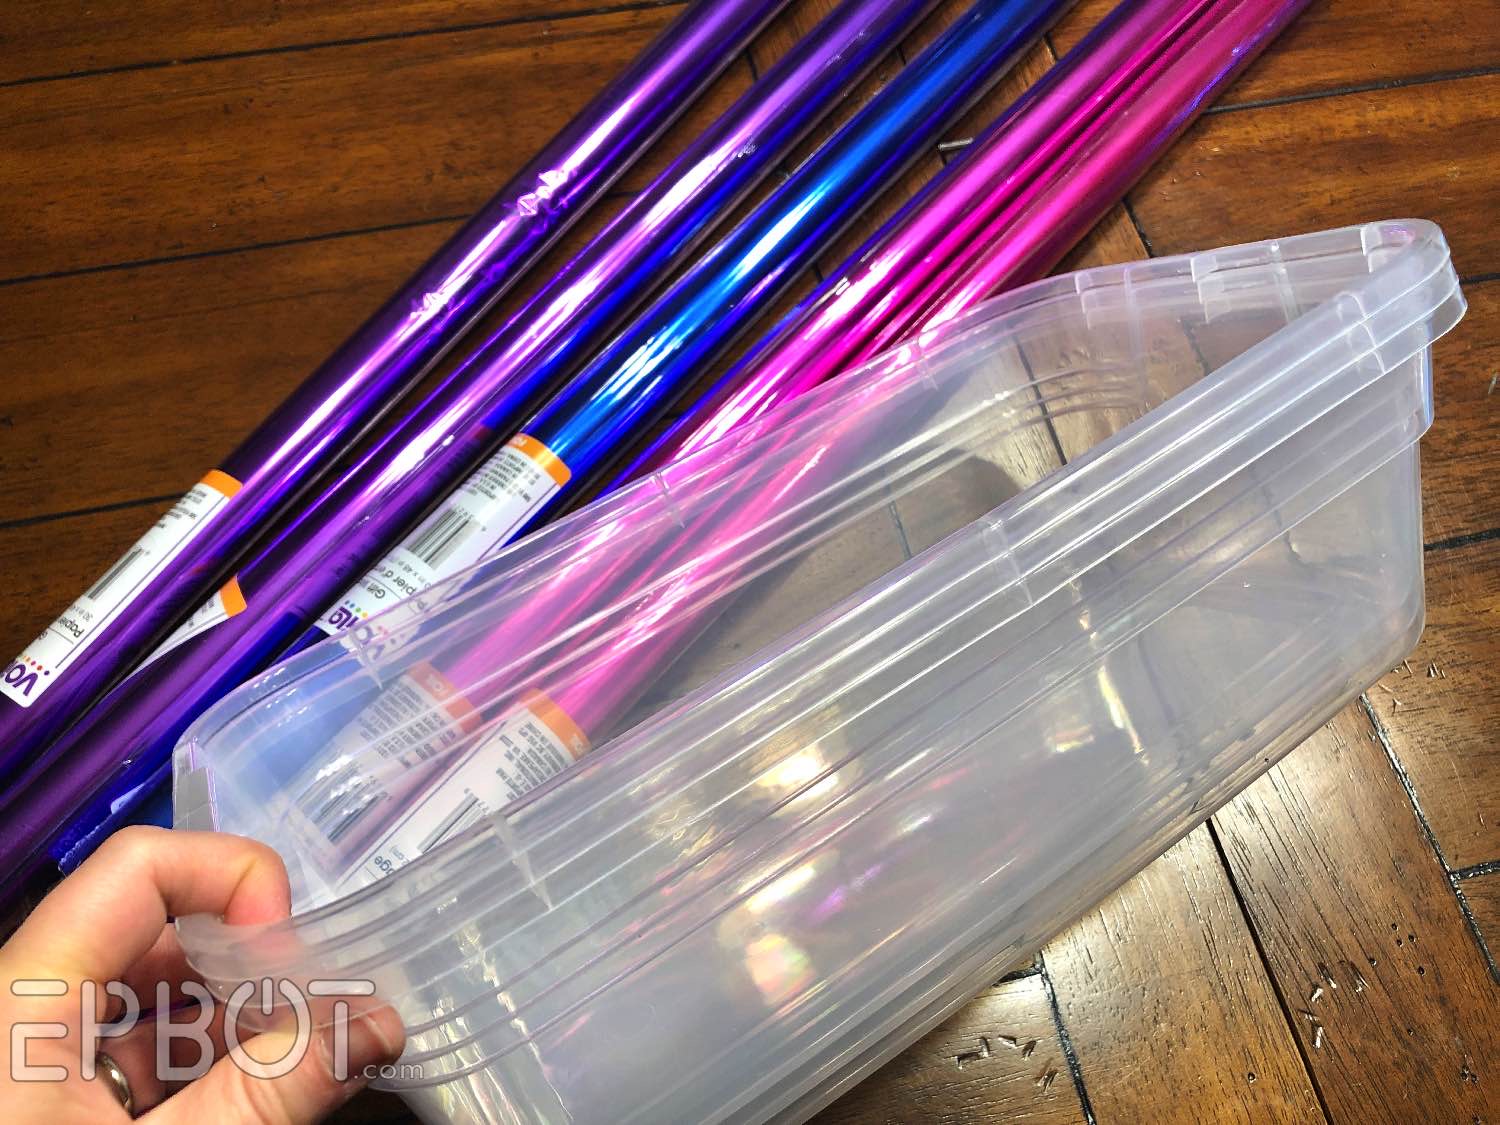
Everything you need is at Dollar Tree: foil wrapping paper (1 roll = 2 candies), small zip ties, and these plastic containers:

Put the lids aside, you won't need them.


Wrap your container lengthwise with the foil...


...then gather up each end and zip-tie them tightly for that wrapped candy look.

I also wrapped two Dollar Tree plastic punch bowls:


The foil won't reach all the way around, but that's ok; just tape it inside the bowl in back:

Then gather the ends and zip-tie.

 Each candy only costs about $2 each, so like I said, HUGE bang for your buck with this one.


Plus so fun! Dangerously so. I want to make moooore.

I used more zip-ties to hang our big candies in this tree:


The branches are rather bendy, but still, turned out pretty cute! These would also look great on exterior walls, trimming a doorway, in a giant garland, or even dangling down from taller trees.

Next!


2) Giant Gingerbread Man Cookie:


This sweetie is made with our trusty favorite, pink insulation foam. I found a cookie I liked online to project and trace, but really this is a simple enough shape that you could freehand it.

John cut out the cookie by hand with a craft blade, then routed the edges to round them. While the router is faster, you can easily sand pink foam to round the edges that way.