Happy Tuesday, boos! I know this may be rushing things, but I am FULLY onboard the spoop train to Halloween Town, choo choo. This is my favorite time of year for DIYs, and the best crafts are the ones that change our dining room tables from this:

... to this:
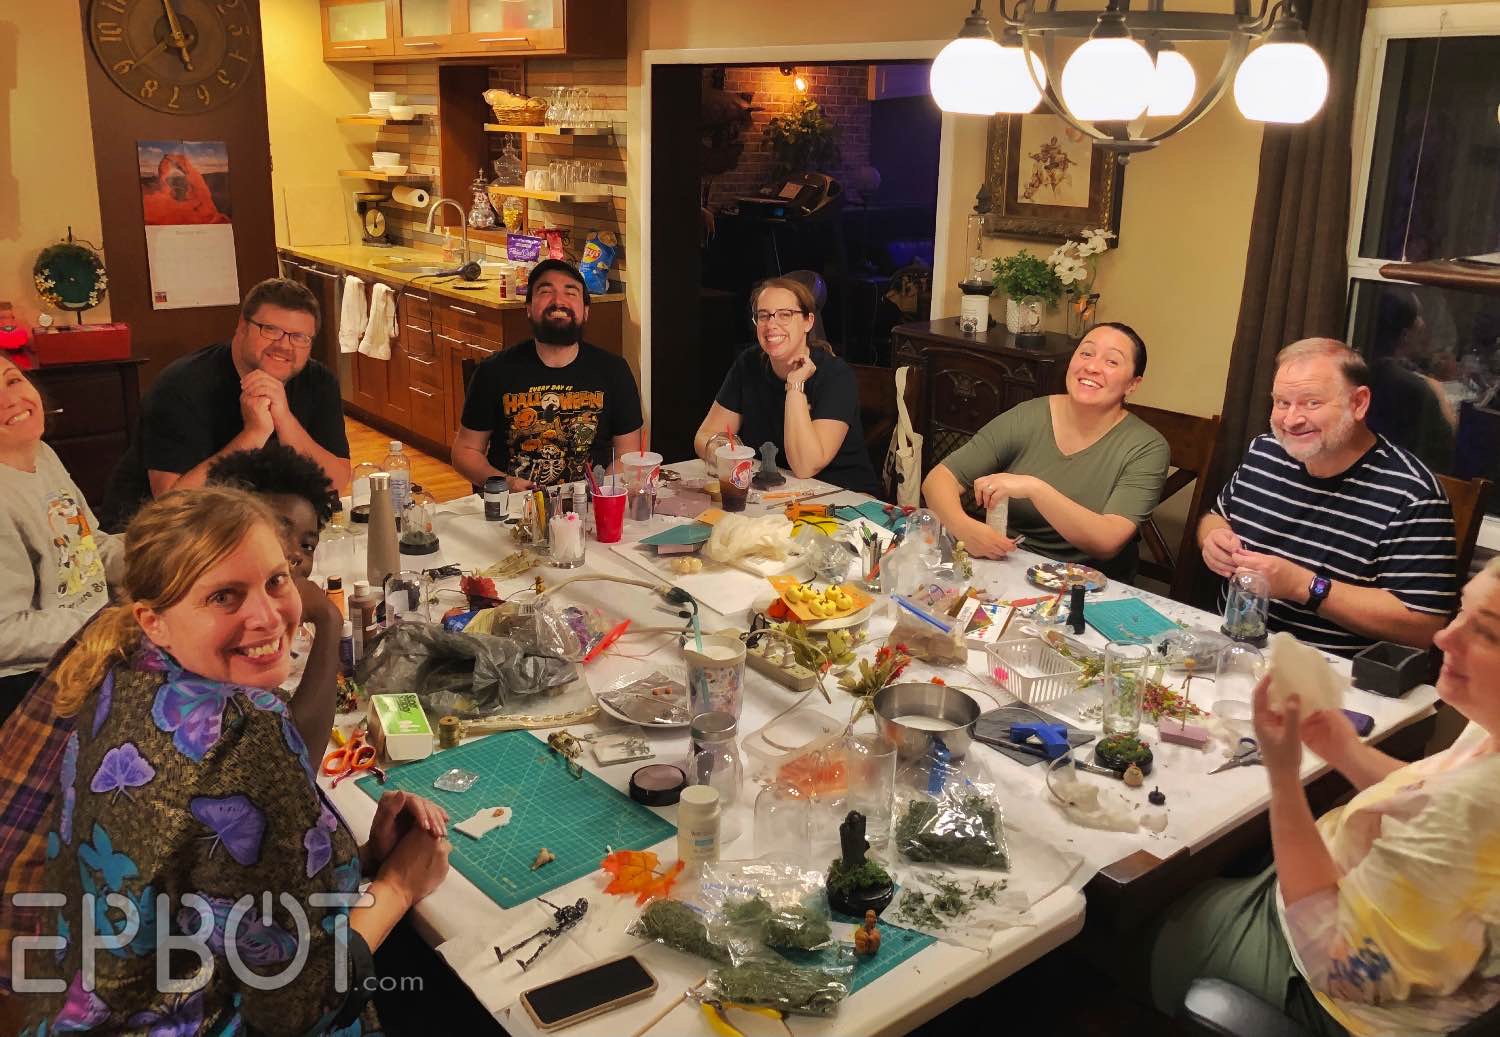
Aw yeah Craft Night!
And check out what these talented chaos gremlins made this time:
I KNOW RIGHT?
For those of you who can't watch videos right now, here are a couple examples of our spooky cloche terrariums:
For those of you who can't watch videos right now, here are a couple examples of our spooky cloche terrariums:

This one's mine. Can you tell I've been watching Youtube videos of Mickey's
Not-So-Scary?

This one's Arielle's, who used a larger cloche made of real glass, because
she's fancy like that. ;)
These cloches were such a huge hit - both with my friends and some
of you watching my Stories - that today I'm going to walk you through the
steps, share our templates, and show you why this is the PERFECT group
activity for your own craft nights.
I'll be making this boo-ty right here:

... but I'll also show you how to make a skeleton version.
You have ALL the options with these cloches, but if you're on a budget, you
can find the essentials at Dollar Tree. In fact almost everything we used
came from there!

From Dollar Tree:
- plastic cloches
- foam board (peel the paper off both sides)
- moss
- mini skeletons
- mini pumpkins
- tiny florals
- (optional) plastic pumpkin table scatter, comes in a bag
- (optional) plastic pumpkin table scatter, comes in a bag
Extras NOT from Dollar Tree, all optional:
- pink insulation foam (for a thicker base)
- clay (for miscellaneous sculpting)
- cheese cloth or thin white cotton (to make ghosts)
1) Cut foam for your base

We used scrap pink foam, but you could also stacked Dollar Tree foam board. Cut
this slightly too small, so your cloche dome will still snap in place.
2) Trace & cut a tombstone from Dollar Tree foam board:
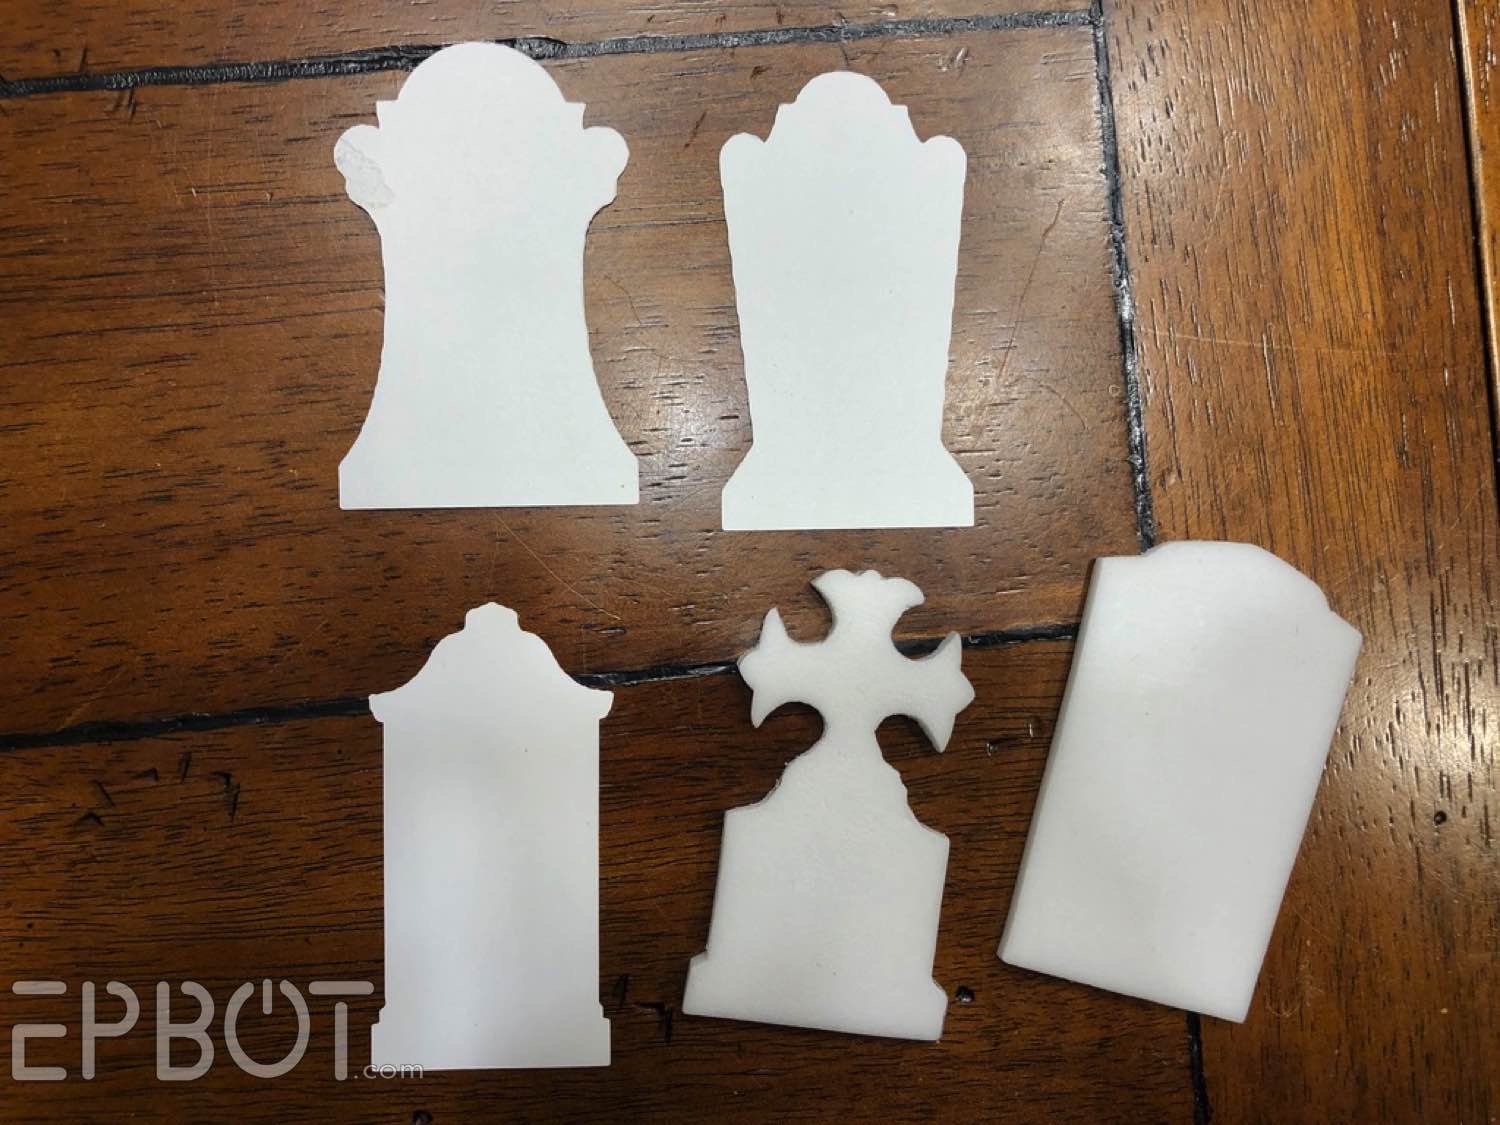
John has assembled a variety of helpful templates for us, which you can cut on
your Cricut to save time:

Print & cut this on an 8X10 piece of paper, and the tombstones will be the
perfect size for a Dollar Tree cloche. Trace your template onto the DT foam,
then cut with a craft blade. Don't worry if it's rough or crumbly; that's
extra aging!
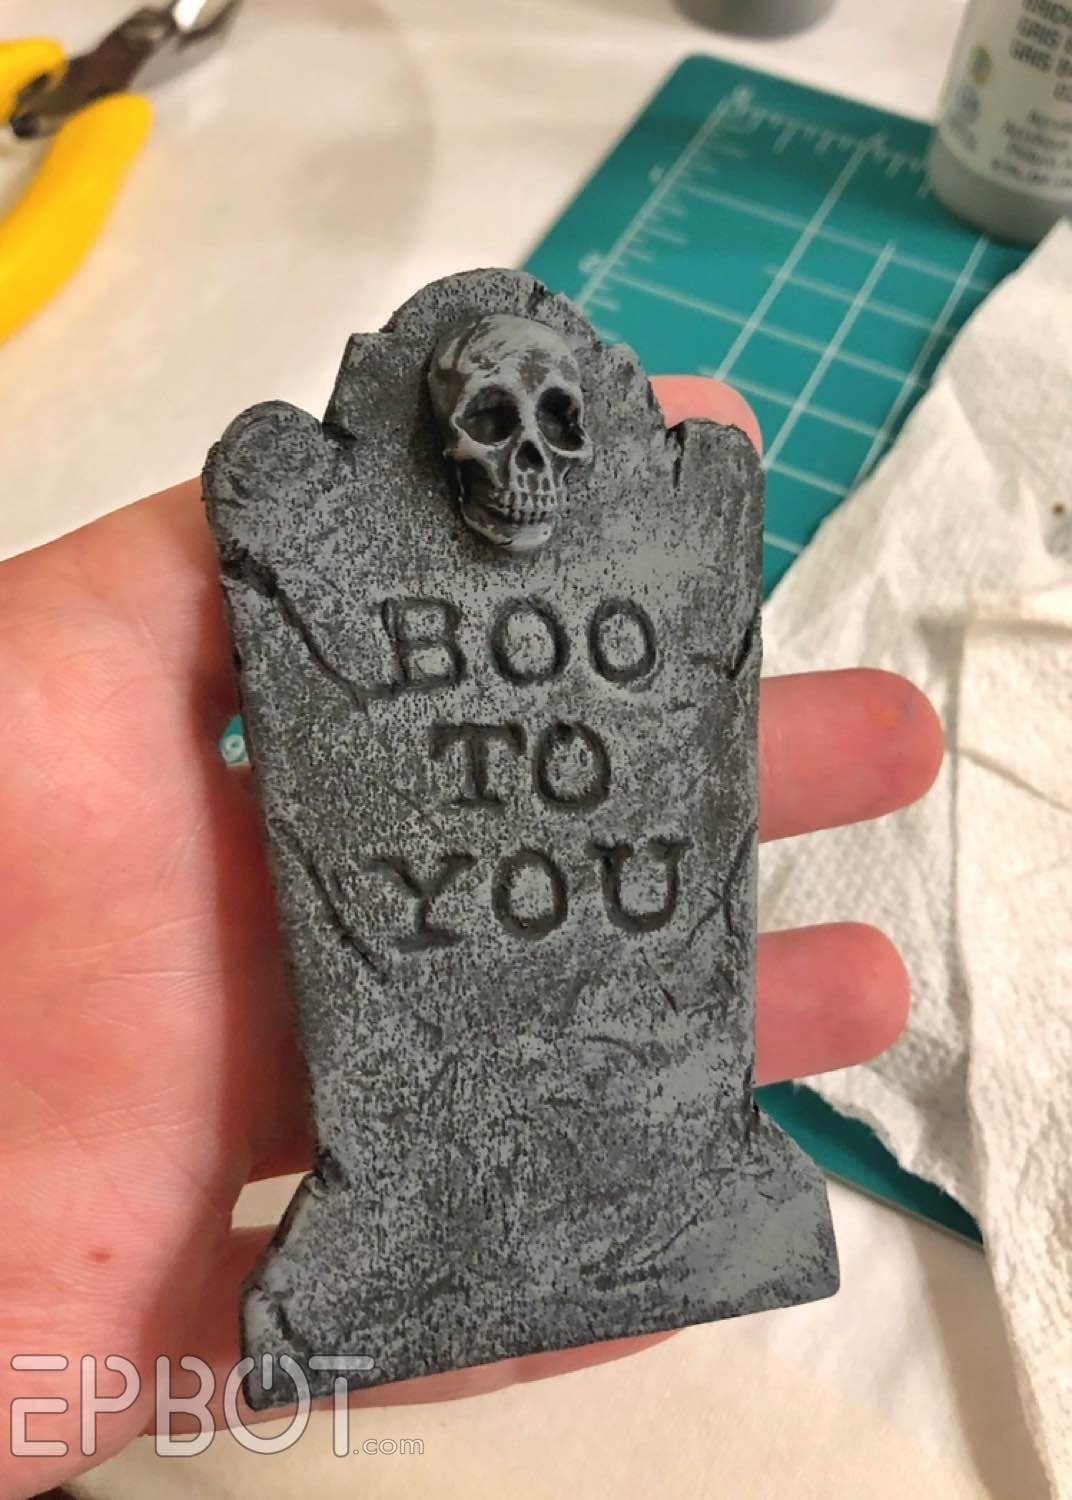
OPTIONAL: If you're feeling extra, you can add clay accents to your headstones. I used
this silicone mold:

... and the little skulls look AWESOME:

(Jessica added Mickey ears to hers, ha.)
Here's mine after painting:
Here's mine after painting:
3) Cut a slit in your base to hold the gravestone:

... but don't glue it yet.
4) Use a toothpick to add writing, cracks, & aging to your
tombstone:

This is the fun part. Dig out little grooves and gouges, and you can
also roll the toothpick on the foam edges to round them.
4) Paint the foam pieces flat black.

Chalk paint is great for this. Make sure the paint gets in all the grooves and
cracks.
5) Dry-brush the "stone":

This is also the fun part. Start with a tiny bit of gray paint,
dab most of it off your brush, then gently brush over the foam to bring out
the texture. Do as many passes as you like, and you can add more shades of
gray or even brown for extra dimension.
5) Hot-glue the headstone to the foam base:

Now you're ready to decorate!
Which is another fun part.
(Listen, this whole craft is pretty dang fun.)
6) Add either a skeleton or ghost
The Dollar Tree skeletons aren't poseable, so snap the joints and re-glue them to get your skelly to sit properly, like Bianca did here:

SO CUTE. I love how she rested his hand on a mini pumpkin for a pop of color.
Or, if you'd rather have a ghost, then cut a small square of cheesecloth:

(You could also use a scarf from Dollar Tree, I couldn't find one with
enough white on it.)
Mix just enough water into white craft glue to make it watery:
Mix just enough water into white craft glue to make it watery:

(I used old decoupage medium, which worked fine.)
... then dunk in your cloth, squeeze it out, and drape it over a "ghost
form."

My ghost form is a craft bead glued on a bamboo skewer, but really you could also use the plastic skeleton.

If you add arms made of floral wire like this, you'll get a ghost more like
Karen's here:

... which is friggin' adorable, but also won't fit in the cloche, ha.
So I removed the arms for mine.
Use a hair dryer to speed up your drying time, then GENTLY peel the cloth off the form. It should be stiff enough to stand on its own.
Use a hair dryer to speed up your drying time, then GENTLY peel the cloth off the form. It should be stiff enough to stand on its own.

Ta-daaa!
Trim the bottom of your ghost as needed to fit inside the cloche, then secure with a tiny tab of hot glue on the back of your tombstone.
Trim the bottom of your ghost as needed to fit inside the cloche, then secure with a tiny tab of hot glue on the back of your tombstone.
7) Add moss to the foam base

Actually, I should have done this before adding the ghost. So... yeah, do
that.
For color I also added teeny flowers:
For color I also added teeny flowers:

Which turned out SO SWEET:

8) (Optional) Add eyes to your ghost with either a marker or tiny nail
gems.

I had nail gems. :) I also tapped on a little blush, because
cute.
And that's it! We're done!
Gently snap the cloche cover in place, and go find a good display spot.

Gently snap the cloche cover in place, and go find a good display spot.
Quick look at the side, because the floating effect is SO DANG COOL

And I really like how translucent the cheese cloth is.

I made an extra ghostie to use up the extra glue, and she's amazing on her
own! I'm thinking of adding fishing line and hanging her somewhere.
I hope you enjoyed, and that this inspires you to host more craft nights
with your friends!
Now tell me, what are you eyeing for spooky season this year? Anything you want to make? Any special requests? I'm compiling my lists, so help me brainstorm!
And as always, if you'd like to help support me and John while we provide free templates and tutorials and craftiness, please share my posts with your friends! That algorithm slog is no joke, so it's getting harder to reach even those of you who follow me on FB and IG.
Or if you want to go the EXTRA extra mile, you can support us by giving through Paypal (either monthly or as a one-time tip), or by shopping through my Amazon storefront.
Thanks, friends! Love you bunches.


I absolutely LOVE this. The little blush on the ghost is so cute!
ReplyDeleteOMG, how cute! And totally non-scary, which is a bonus this time of year.
ReplyDeleteCan you show us how to use LED lights in decorations? Haven't tried them yet. Oh and glow in the dark things to hang from a tree or in a shrub? Which clouche was Eva's?
ReplyDeleteOhhh a string of ghost lights. I may need to make this .
ReplyDeleteI've tried using the dollar store cloches before but wasn't able to get the glue from the sticker off without scuffing the plastic. Do you have any tricks for that?
ReplyDeleteThis latest batch peeled off no problem for us, but it's possible yours melted and the adhesive got extra gummy. For that I recommend a little vegetable oil and a rough wash cloth, or Goo Gone, if you have any!
DeleteIf you have a hairdryer, it can help with this. It's a little time-consuming and fiddly, but it works great! Point the hairdryer at the sticker for a few seconds, then start to peel. As soon as it starts to tear or get difficult, hit it again with the hairdryer. Keep going slowly, don't be afraid to start from a different side or corner if it tears away or you can't keep hold of it. You should end up with a clean surface with no sticky residue.
DeleteOne of the best parts about homeschooling is that I can do this craft with my kids and call it "work"! So thanks for the class inspiration!
ReplyDeleteYet another great craft, thanks so much for sharing! Love cloches; great way to spruce up any holiday or encapsulate a dearly held memory. Wanted to suggest that this is also a great way to recycle glass jars as cloches.You can cover the lid in clay and disguise it as any shape you like; mounds, stumps, octopus' garden, etc. Happy crafting!
ReplyDeleteSo fun! I love the tombstone declaring "Mostly dead!" Gotta love a great Princess Bride reference!
ReplyDeleteAm I seeing a face in Karen's ghost or is that just me??? Sppooookkkyyy
ReplyDeleteCheesecloth and glue is pretty brilliant. It reminds me though of buckram. You should add that to your arsenal of supplies. I’ll let you have fun googling it!
ReplyDelete