Greetings, mischievous mortals! John and I are finally well-rested and back to our Haunted
Mansion Halloween builds with high spirits. (If you missed our ghostly ballroom dancers, click here!)
Today I'll walk you through our
build of those beloved cling-ons, the Hitchhiking Ghosts.

My favorite reference art of these three is by Doodleman Dan,
an indie artist I've featured here before and know from
local cons. Unfortunately his art has been stolen and sold
by Etsy scammers, so I contacted Dan for
permission first to use this, and also purchased his digital files, so he'd be paid. Even if it's just for a personal project, I always want to do right by the indie artists out there - and here's Dan's Etsy shop so you can do the same. (Plus you're really going to want to see his Figment & Slimer stickers, ermergersh. Bet you can tell which ones I already purchased. :D)
Now, on to the build!
First we
base-coated a sheet of pink insulation foam in "Tantalizing Teal," a Sherwin Williams
color we matched in a cheaper Lowe's paint.

Next John worked some digital magic to fit all 3 ghosts onto a
single 4X8 sheet of foam, as well as extending and detaching their
arms:

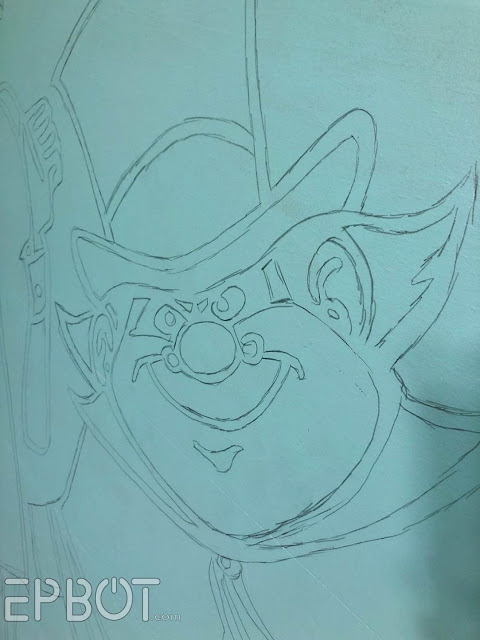
I traced all the lines in pencil:
Then John began cutting them out with a large
craft blade:

I'm amazed how detailed John got with these cuts; no power tools needed!

Next I painted in the shadows with a darker shade of the same teal:

It's starting to look pretty cool, right?


This step made me very happy. Look how they came to life!


At first I just wanted their arms to rock on a pivot, so you could bop them like a bobble head and get a little motion.
So we did that. John added PVC pipe joints, metal rods, and a little silicone lubricant so the arms rocked rather delightfully when bopped.

But THEN we got to thinking, "What if the arms were motorized, so you don't have to bop them?"
We've never motorized anything, y'all, so I can't tell you how proud we are of the Frankensteined contraption we came up with:

This was the result of some intense brainstorming, problem-solving, and at least one lightbulb moment when I realized we could speed up a too-slow motor with a gear. So satisfying.
But wait.
There's STILL MORE.
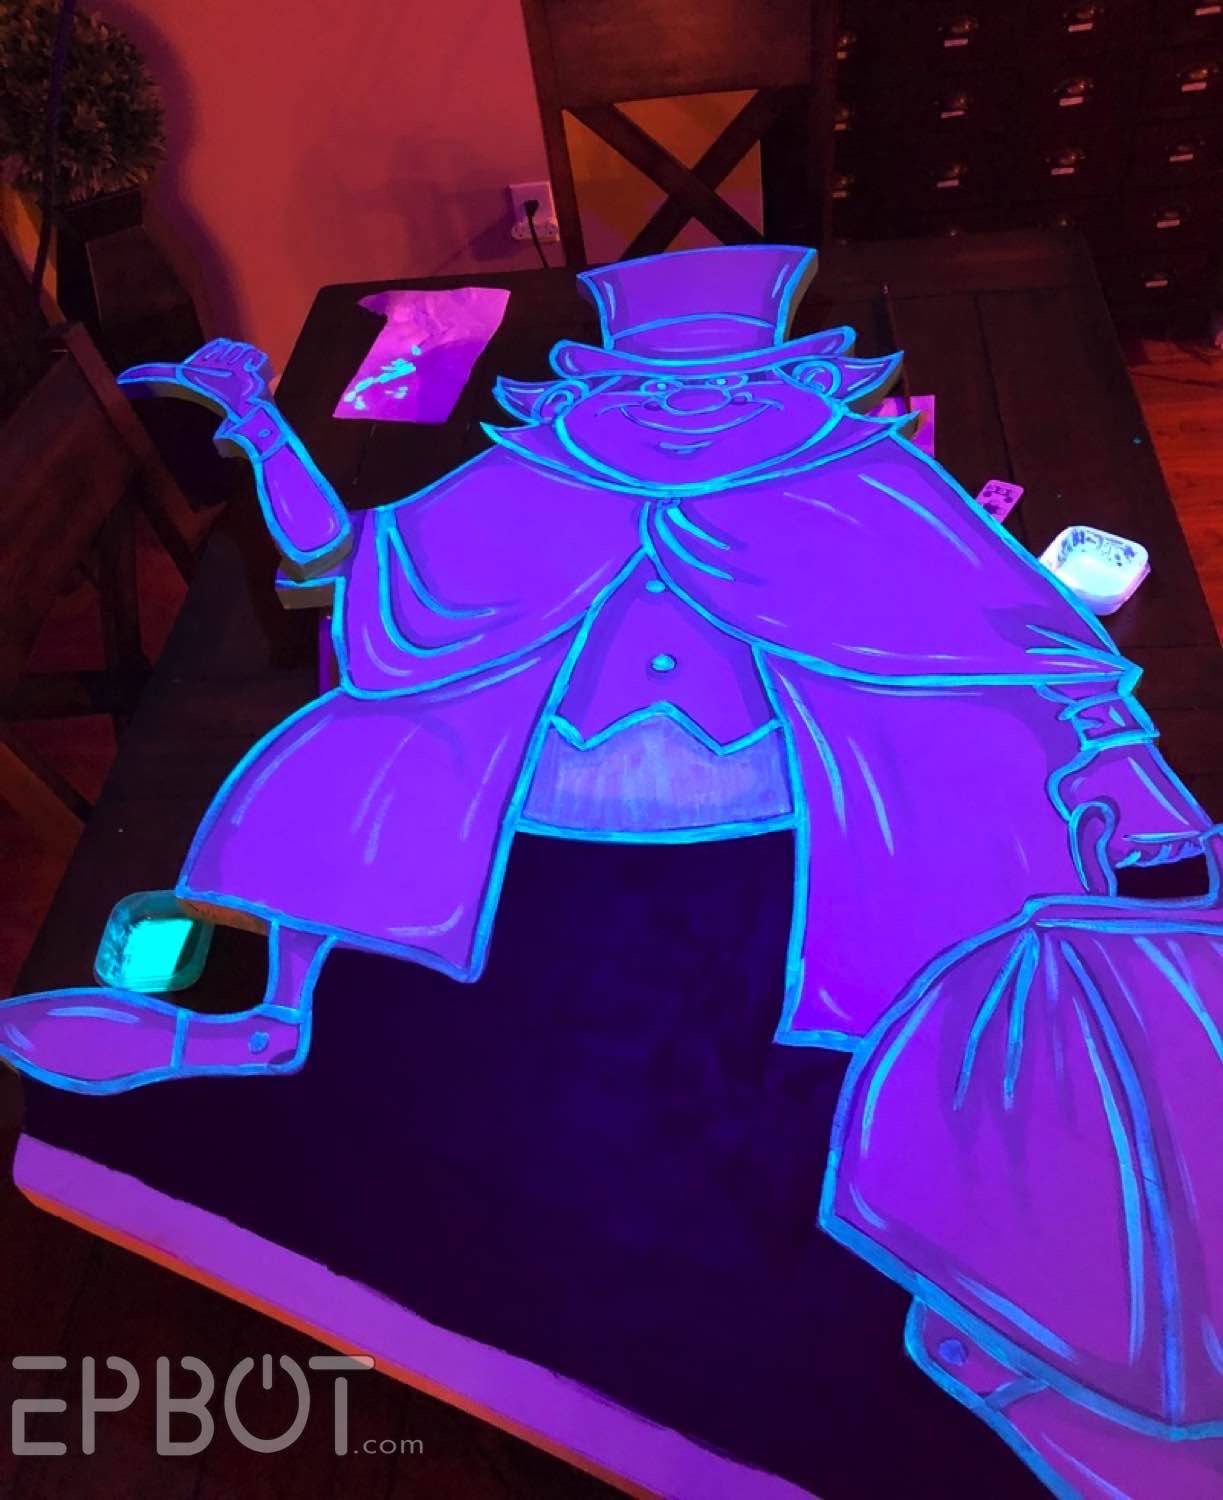
In addition to making our ghostly cut-outs move, we also wanted them to transform at night.
Enter... BLACK LIGHT PAINT.
My good friend and prop master Kevin sent us some Wild Fire white, which is apparently the only industry paint that glows a true white - and even better, is perfectly clear in daylight. So after a little experimenting and a lot of swatch cards, I used a combo of Wild Fire with a greenish teal we mixed ourselves from cheap glow-in-the-dark paints.

Did you know cheap glow-in-the-dark paints fluoresce under black light? Before this, I didn't!
Because I was sparing with both paints they look the same color here, but in person you can see a variation in the glow from white/blue to green/teal, which I really like.
We've never used glow paint before, so here's something else that's cool: using a combo of both black light and regular light!

This is Gus before I added any glow paint...
And here he is after, same lighting:


Here's a fun shot of Phineas, aka luggage guy, on the table:

(Oooh, y'all, I suddenly want to make giant Tamatoa cut-out. Eh? EH? Like a whole undersea Realm of the Monsters vibe?)
(Focus, Jen, focus.)
Yesterday we did the finishing touches on the bases and bars, and now, at long last, our Hitchhiking Ghosts are ready to follow you home:


*****
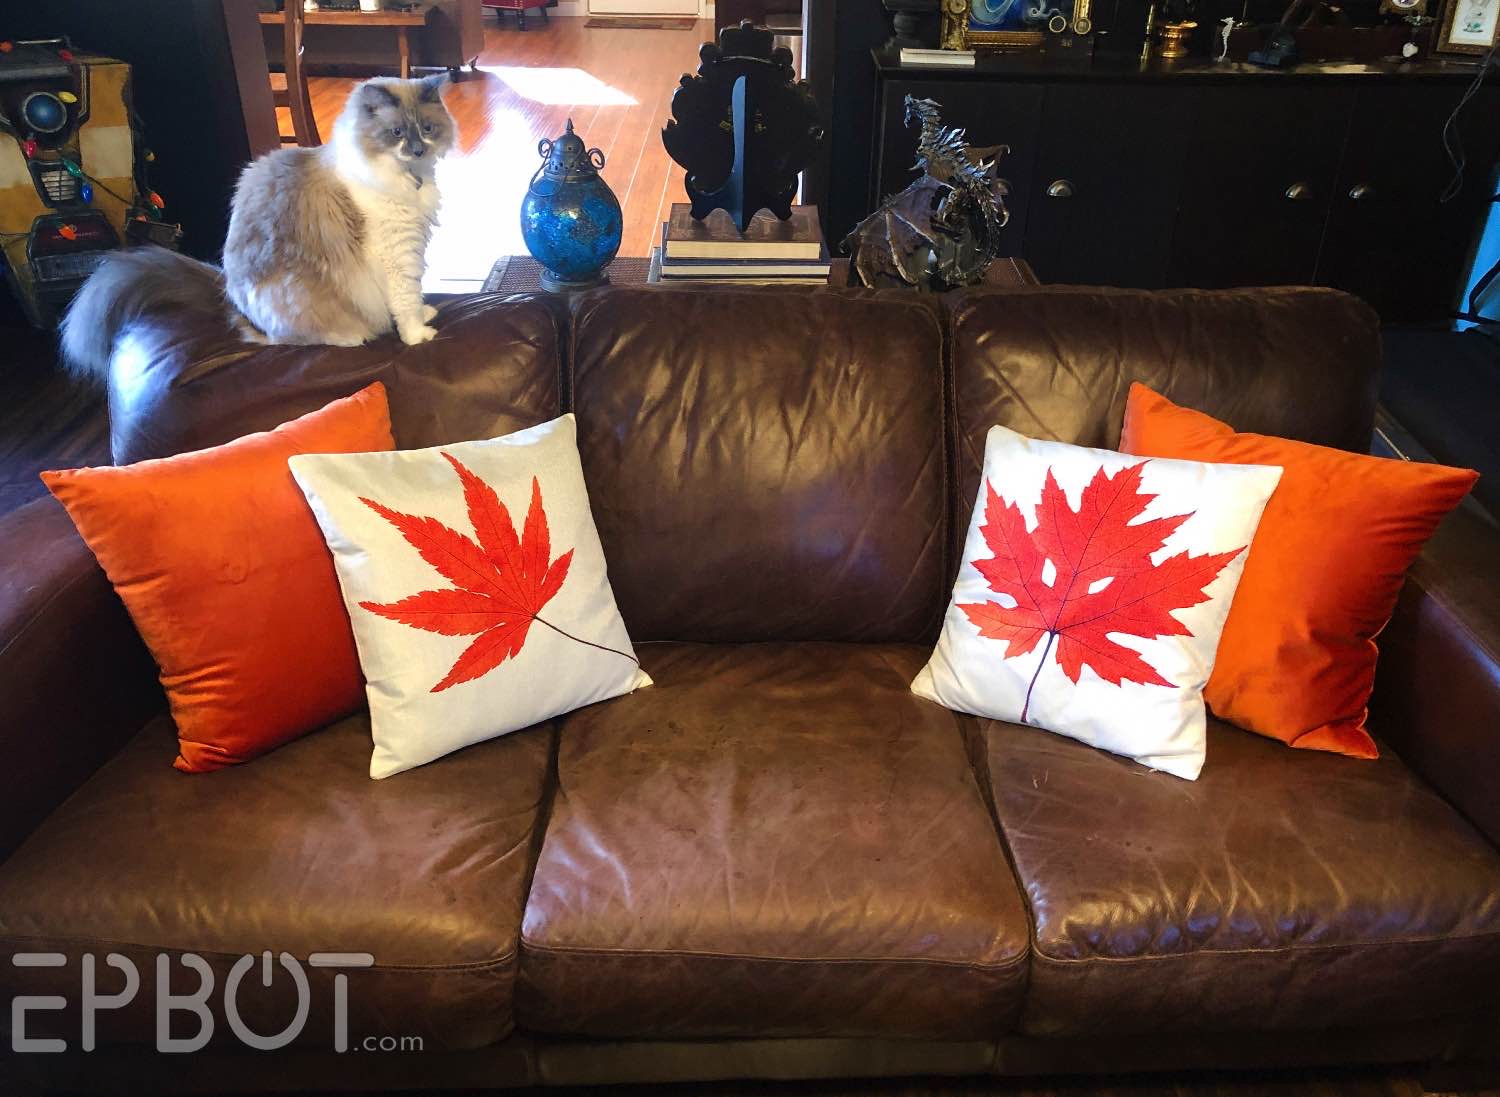
P.S. I have to show you my new Fall pillows, because AHHHHH they make me happy:

I found an Eva pillow!
These are all pillow covers, actually, which means they're cheaper and easier to store later, a win-win.
Here's the other couch:
Anything you purchase through my links or the Epbot Amazon shop gives a little back to help fund our Halloween builds and also feeding our cats, so thank you for helping support us while you shop!


This is seriously next level. I hope your neighbors appreciate you! I can't think of a better Halloween theme - love it so much! (And while I'm sure you've got your costumes figured out, an Instagram account I followed did a super clever Grim Grinning Ghosts costume back in 2017. I don't know how to link, but you can search JohnsonFiles Haunted Mansion and I think you'll find their Facebook post.)
ReplyDeleteWe decorated the Halloween tree yesterday. Orange lights in addition to the basic white, and an assortment of ghosts, skulls, spiders, bats and such, plus Doctor Who monsters including a Weeping Angel topper!
ReplyDeleteBut we never get any Trick or Treaters here.
What if you were to put them in a sort of black box, would the color change effect be a little noticeable in daylight?
ReplyDeleteWow, this is wonderful! I wish I was your neighbour! And by the way, I have teal and orange pillow covers - inspired by you from probably years ago. I never thought I was a fan of orange until seeing stuff you had, and I love the pops of colour :-)
ReplyDeleteLove love love your ghostie hitchikers! And I love your fall pillows so much I copied you and ordered the same ones. Thank you! Liz (For some reason, I am unable to sign in to comment)
ReplyDeleteSome tips on blacklights from a physics educator and crafter:
ReplyDelete-Tonic water glows turquoise under blacklight
-Glow sticks will glow brighter under a blacklight, even if they are new and unbroken or have been "used up"
-Products labeled glow-in-the-dark usually continue glowing a bit after you turn the blacklight off, products that say they glow under blacklight usually stop glowing as soon as you turn the light off
-Most pink acrylic paints fluoresce orange
-A lot of household objects will glow under blacklight, but don't look in your bathroom (I swear, however bad you think it is it's much much worse)
-Tons of stuff at the dollar tree fluoresces, the mesh floral tube stuff usually is pretty vibrant, but a keychain blacklight is good for finding new stuff
-Dust fluoresces purple (mostly an issue for display cases)
-The chlorophyll in freshly cut plants fluoresces red for a while after cutting, kale and spinach work best
-If you are going to be spending a really long time (like several hours) in front of a blacklight, it's a good idea to apply some sunscreen to be safe, blacklights all emit uv light, and the risk of skin damage from most commercial bulbs is extremely low, but if you are spending a lot of time exposed to blacklights it's a good habit to form
-Keywords if you're looking for more info are fluorescence and phosphorescence, Wikipedia is a great inspiration point
I do a little experimenting with natural dyes from plants and mushrooms, and one of my coolest finds was how many of THEM fluoresce under black light! I was checking a sea glass find to see if it was UV glass, and turned my black light on while it was pointing at my yarn stash. You all may have heard my yell of "HOLY COW! THEY GLOW!" XD Lobster mushroom dye and buckthorn bark dye, among others I forget right now. Good times. :)
DeleteBrilliant!! They look so good!
ReplyDeleteYou folks are SO DANG TALENTED!!! I love seeing your brilliant ideas come to life. For costumes, would Haunted Mansion "staff" costumes be a possibility? Elevator operator, housekeeper, etc...
ReplyDeleteNext should be the ghosts appearing with the visitors. Maybe using a semi mirror. Or just a digital effect (digital photo of visitors with ghost composited in). Could provide a QR code on a monitor for people to download.
ReplyDelete