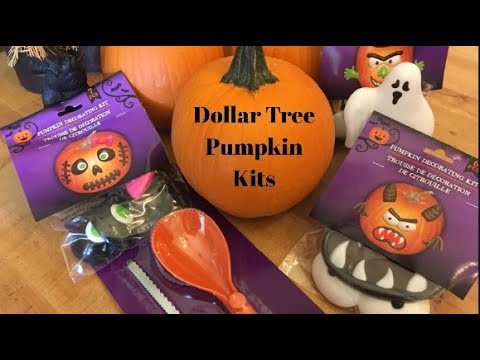
K, last spooky craft roundup! LET'S DO THIS.
You know the plastic push-in faces for pumpkins? Dollar Tree has 4 or 5 kits you can mix and match, they basically turn your pumpkin into a Mr. Potato Head:
WELL, I found another excellent use for them:
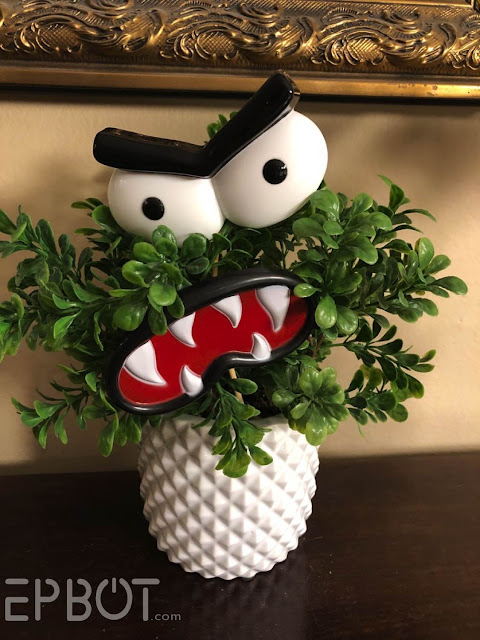
Giving our house plants more character.
Our topiary has never looked prettier:

Each piece has a little plastic spike on the back, but for the smaller plant I hot-glued them to bamboo skewers.
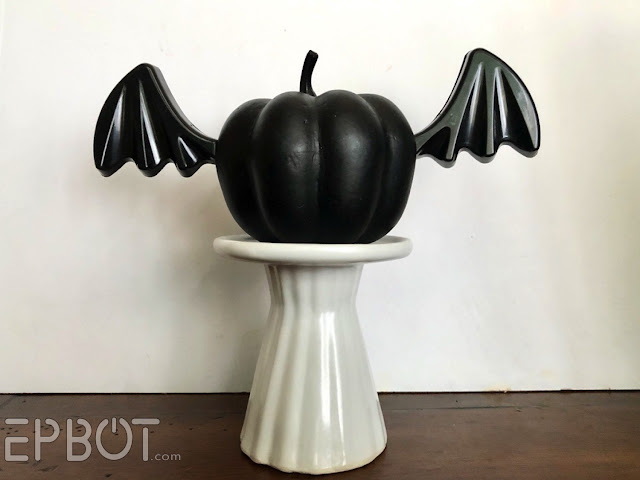
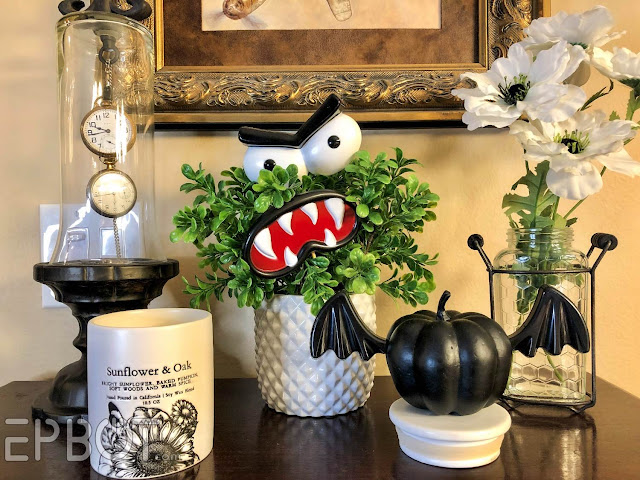
These kits come with a bunch of different accessories, so I also combined the wings from this pack:
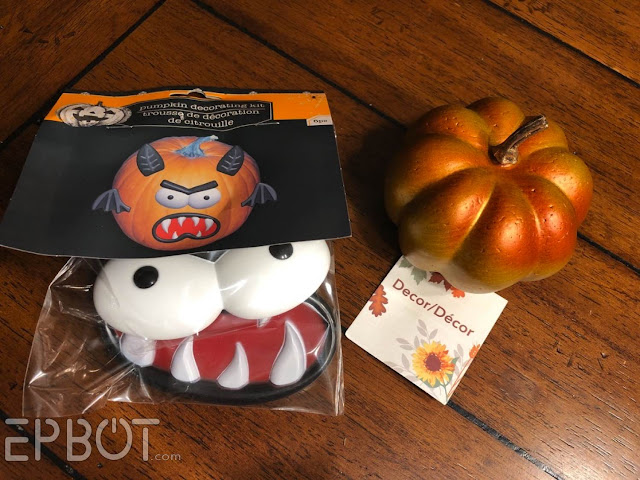
Cute, right? I mean, I know, it's a bit simple. Folks in my Stories said I should add eyes, and I *did* try:
...but no.
So I left it plain, and let the plant do the glaring.
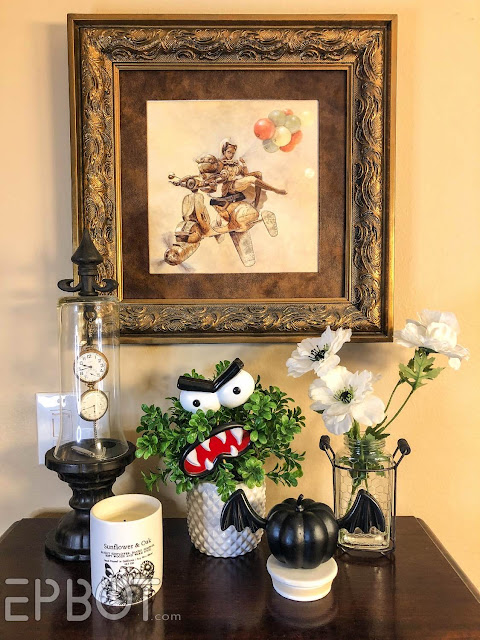
I'm really enjoying this vignette. It took almost a whole year, but I finally found a better base for my pocket watch display! Remember when I made that last year? The top is a Dollar Tree vase flipped upside down, and the finial is made from a plastic fence piece, also from DT.
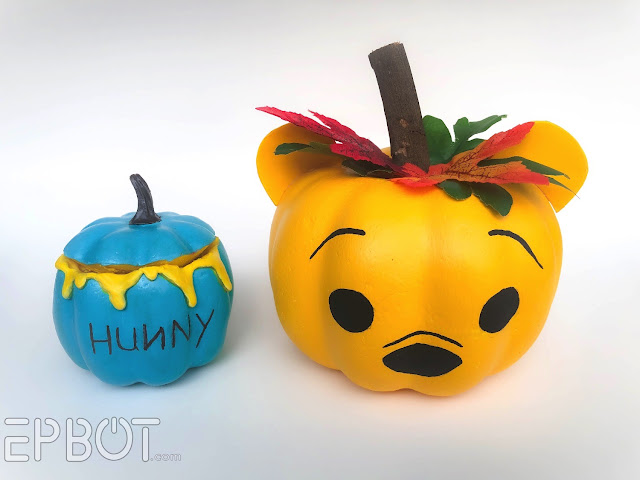
Here's a more advanced painted pumpkin - this one took me a few days:
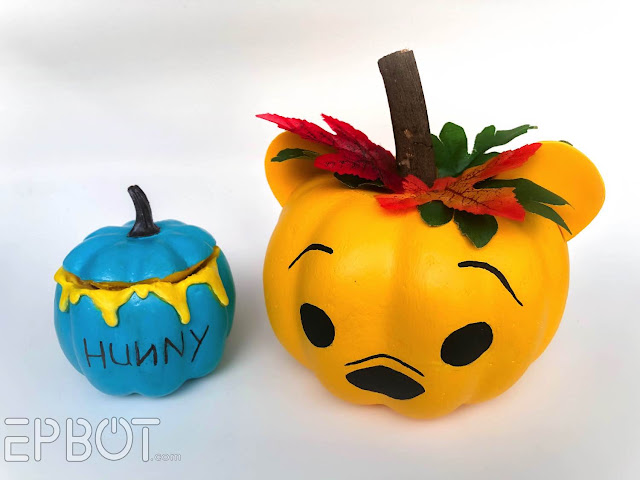
Pumpkin Pooh!
I was inspired by this DIY version on the Mickey Blog, which used real pumpkins:
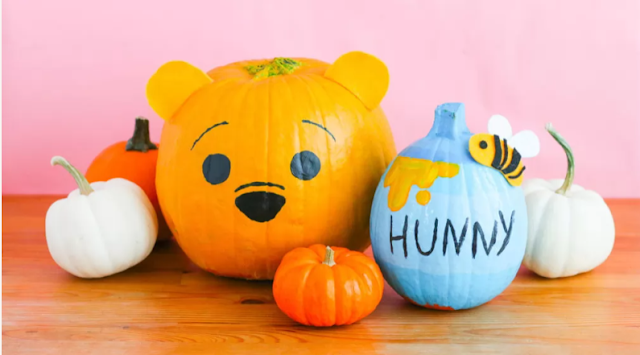
I have a friend, Sue, who LOVES Pooh Bear. So I decided to make a set for her.
I used the Styrofoam pumpkin from Dollar Tree for the head, and another of the smaller foam ones for the honey pot. I found a stick outside for the stem, and cut craft foam for the ears:
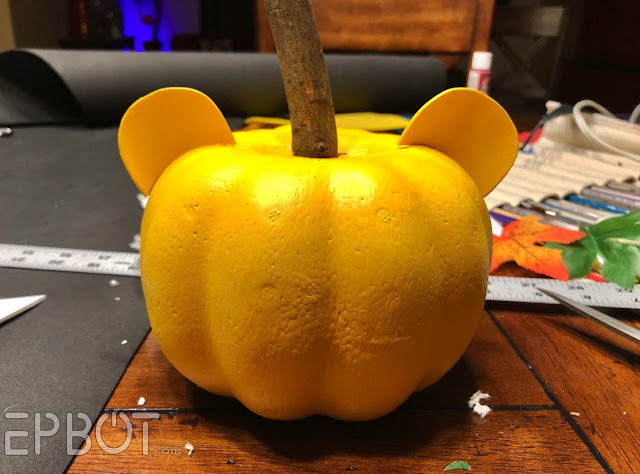
I started with two coats of white chalk paint, since yellow craft paint doesn't cover well.
Painting the face is harder than it looks on that fluted surface, so I finally had John project the face with our handy-dandy digital projector, and traced over it. Hopefully y'all are better at free-handing than I am, though, and can just draw the features on.
For the honey pot I cut the top of the smaller pumpkin off, carving down at an angle like this:
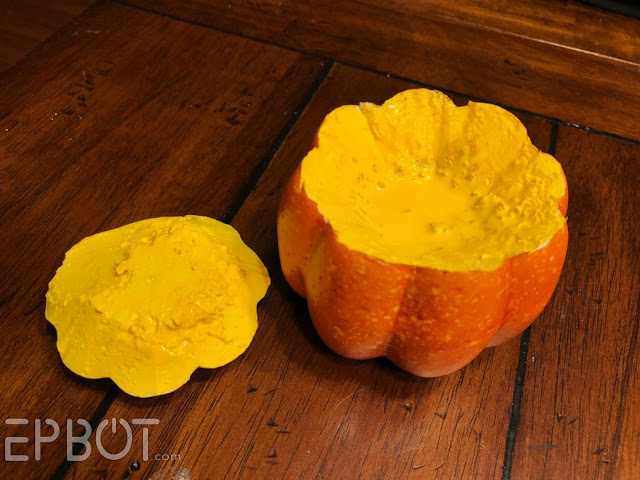
Then I painted the inside yellow, the outside blue, and used hot glue to make some cute honey drips.
Finally I hot-glued the lid back on, but twisted slightly so it didn't fit back in place perfectly:
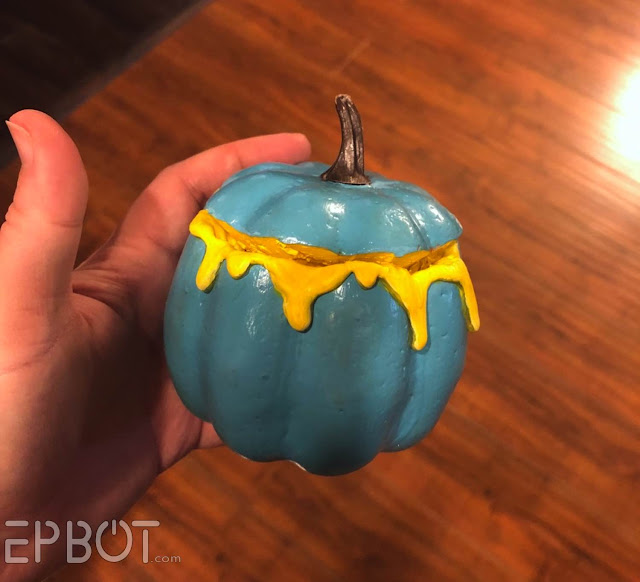
Last thing was writing "HUNNY" with a sharpie, which didn't go so well, but I'm calling the smudges "character." :D
Ta-daaa.
I gave these to Sue this week, and she fangirl squealed like I do! It's been ages since I made something for a friend, so that really filled me up.
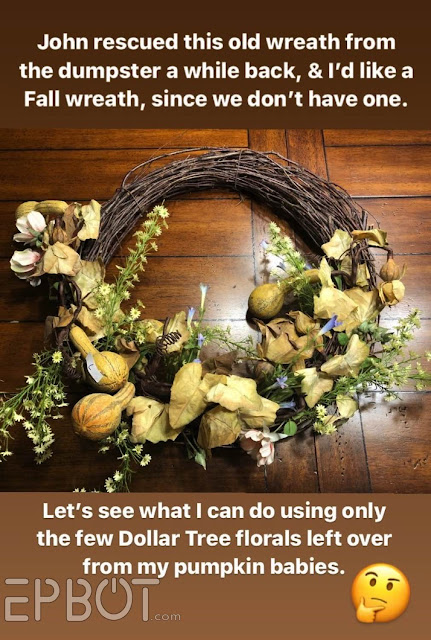
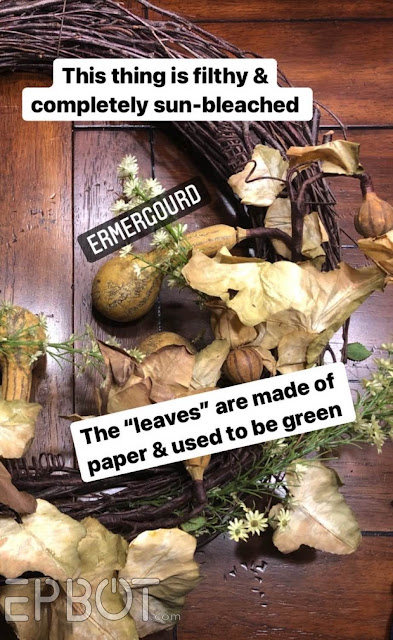
Last thing, here's my Story saga of how I turned actual trash into a cute Fall wreath:


After Halloween I'll take the ghost off, maybe add a bow up top?

John and I are working furiously testing out re-made prototypes for our yard decor for Halloween night. We were out in the yard last night setting things up, seeing how all the inflatables do in the breeze, and I swear in under an hour every single neighbor either drove by or walked over. (Me: "It's not done yet! DON'T LOOK!")
We've hit a lot of road blocks and frustrations, but even without anything painted OR even fully assembled, a lady driving by slowed down, rolled down her window, and yelled, "I can't wait to see it with the head on!" Which means she could tell what it is. So hey, that's a win!
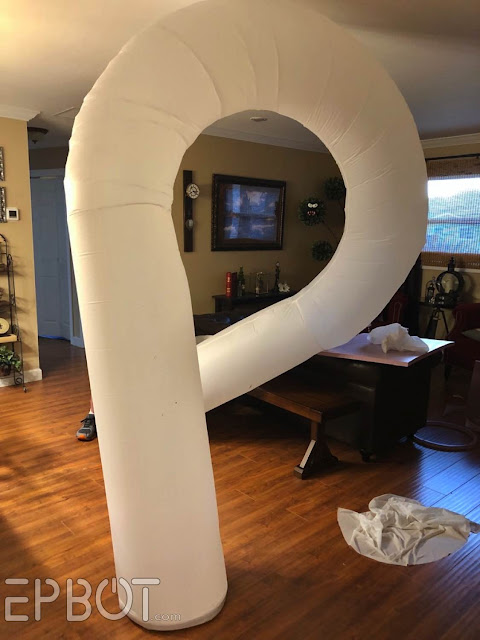
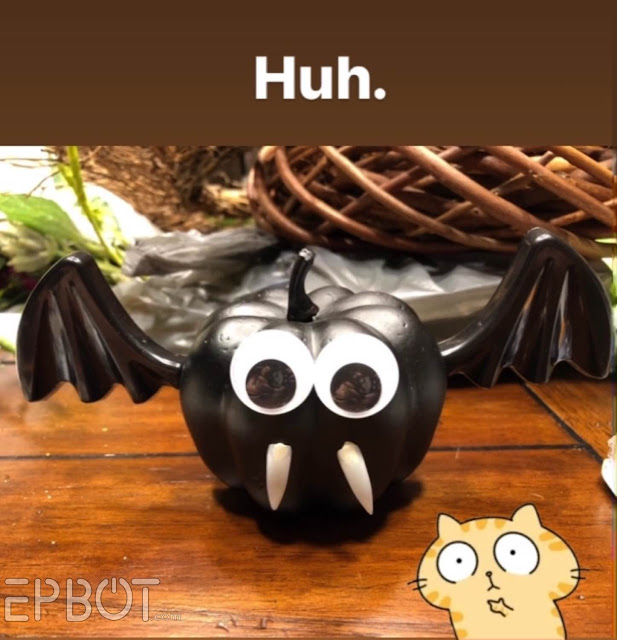
Here, have an intentionally confusing photo for kicks.
Anyhoo, I hope to show you some sensical progress shots soon, I just don't want to jinx it. I have this nagging superstition that any project I debut on the blog before it's mostly finished will be ruined somehow. So once we hit that tipping point, I'll spill.
*****
P.S.
We've hit a lot of road blocks and frustrations, but even without anything painted OR even fully assembled, a lady driving by slowed down, rolled down her window, and yelled, "I can't wait to see it with the head on!" Which means she could tell what it is. So hey, that's a win!
Here, have an intentionally confusing photo for kicks.
Anyhoo, I hope to show you some sensical progress shots soon, I just don't want to jinx it. I have this nagging superstition that any project I debut on the blog before it's mostly finished will be ruined somehow. So once we hit that tipping point, I'll spill.
*****
P.S.
If you like the silly stuff I do here and want to help fund the fun, you can support me through Paypal! Whether it's a one time tip or a monthly donation, every little bit helps me and John keep pouring our time and hearts into this little corner of the internet. Or, if you like shopping, I also have an Epbot Amazon shop you can bookmark with lists of fun things I like, wear, and use.


I have a guess on the halloween idea. Are we allowed to guess?
ReplyDeleteWhat does it say about me that I can't stop laughing at the "ermergourd" label up top? Thank you for randomly and nerd-aly brightening up my very boring work day....
ReplyDeleteOnly thing that comes to mind is the Betelguese sandworm?
ReplyDeleteMy first thought is lesser dog from Undertale with that stretchy neck, but.... That doesn't seem very typically Halloween-y?
ReplyDeleteThose Pooh pumpkins are adorable! And I love the plants with faces. They look like Muppets, and they make me wish my four-legged roommate didn't insist on eating (and throwing up) everything that looks even vaguely like a plant.
ReplyDeleteTHE TOPIARY!!!! You HAVE to name them!
ReplyDeleteLast one? I guess all good things have to come to an end. 😁 Thanks for all the great crafts! And I can't wait to see your house! I really want the confusing picture to be a tusk.
ReplyDeleteThis Epbot-sode has been brought to you by The Letter P. <3
ReplyDeleteI so appreciate that you take the time to bring your photos from instagram and show them here! Talk about fan-girl squealing, every time one of your emails shows up in my inbox I do a little happy dance and click over. I share many of your posts with my daughter and read aloud the funny bits to my husband who pretends that he isn’t interested and then ends up snickering. I guess I just wanted to say how much I appreciate every blog you write, no matter what the subject is I ALWAYS feel better for having read it.
ReplyDelete