HEY. You.
Is your style "spooky chic"? Do you aspire to a Morticia Addams level of elegance? Do you like easy crafts that look expensive? How about skulls and flowers?
Ahhhh.
Then do I have the DIY for you:
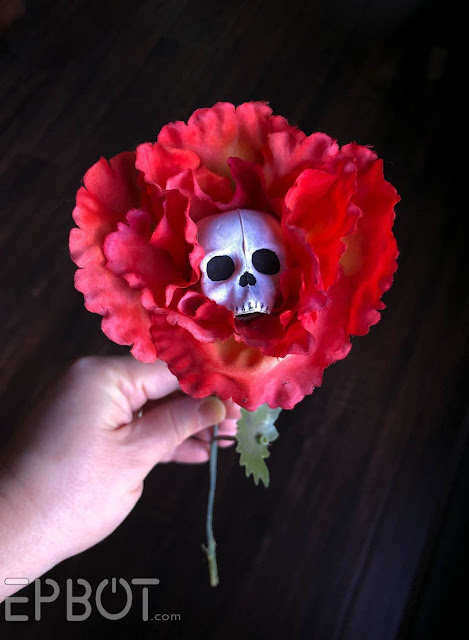
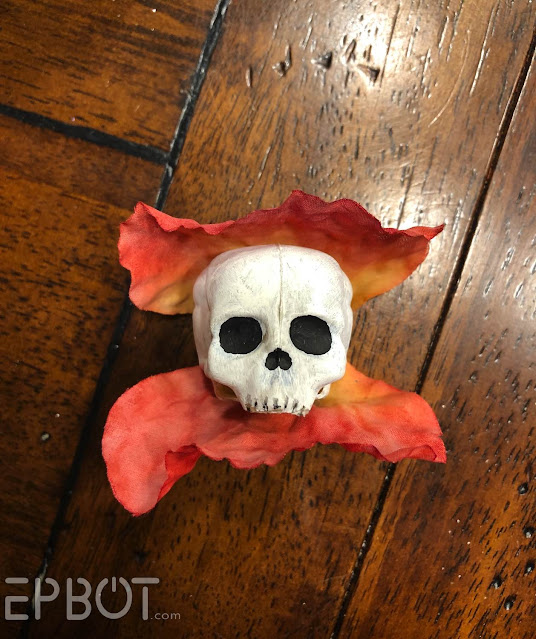
Skull flowers!
Sure, OK, yes, skulls in flowers have been done to death - pun intended. But mine are a little more subtle, a little more sweet. I even think they're kinda cute! Imagine one leaning over from a nearby boo-quet and whispering in your ear, "Allo, mate!" TOTES ADORBZ, right?
No?
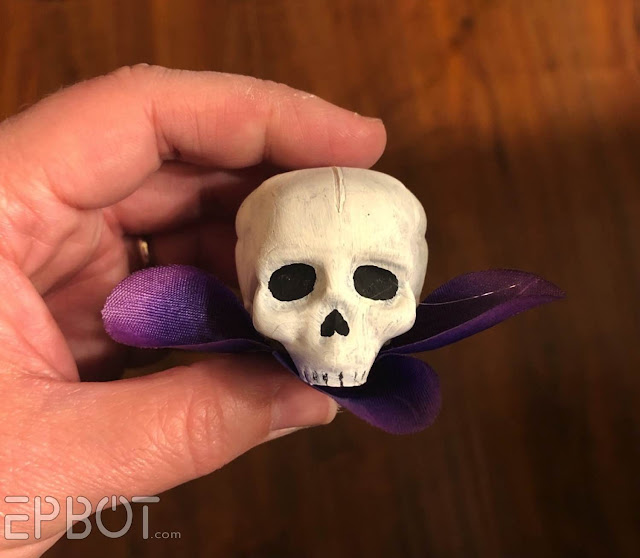
What if it's purple?
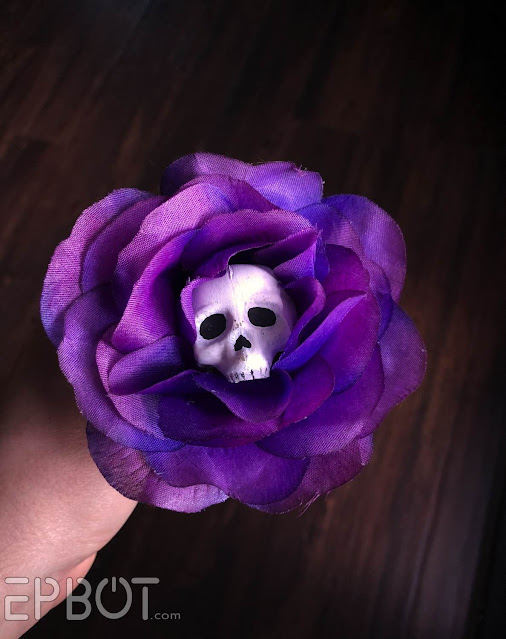
See, now this one's singing "I Feel Pretty" in a lil' Muppet voice. Right? Can't you hear it?
(I told you, John, I feel fine. Why do you ask? And where did your nose go?)
The great thing about these lil' babies is you can make as few or as many as you like. A single skull flower in a bud vase is stunning, or mix a bunch into a larger bouquet to make your guests do a double-take.
All you need are fake flowers, hot glue, paint, and these plastic skulls from Dollar Tree:
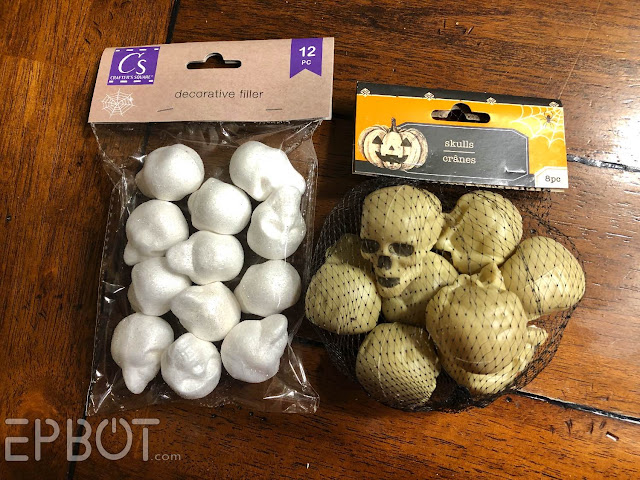
I'm using the larger ones on the right, but the smaller Styrofoam ones work, too.
Now sure, you could just plop a skull as-is into a flower, but I'm telling you, it won't look as cool. So don't do that.
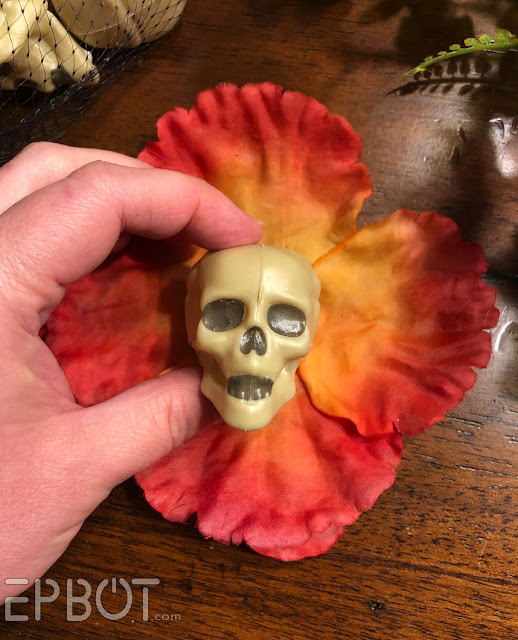
Meh.
See, the skulls look too plastic-y, and they're too oval-shaped to fit the round center of most flowers.
Solution? Knock their jaws off! With a craft blade. Then give them a quick coat of white paint:
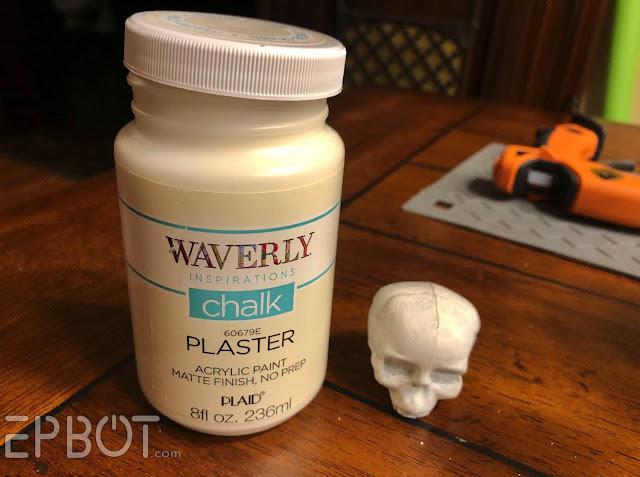
I've recently discovered the wonder of chalk paint (find it at Walmart or JoAnn's), and I highly recommend. Amazing coverage and it dries dead flat.
Since you cut the skull's jaw off, here's a handy way to hang on to it while painting:
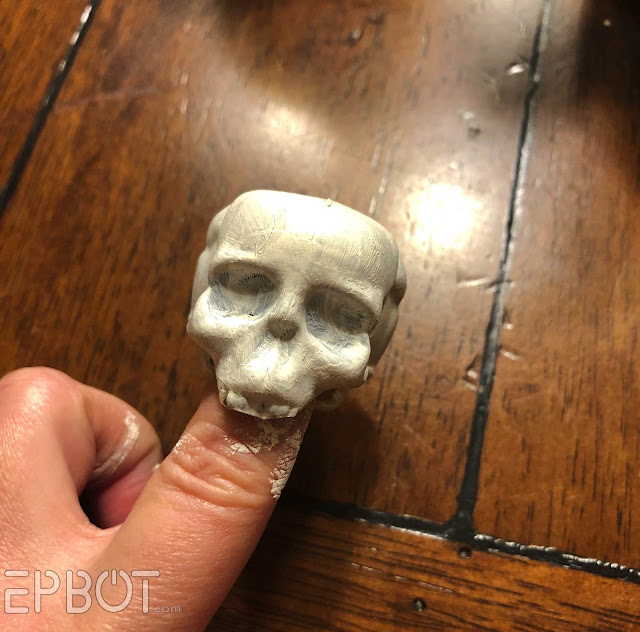
NO BITING, FRANK.
Only do one coat of paint; you want it to look rough and uneven.
Once that dries - which'll take about 30 seconds if you use chalk paint - use a marker or black paint to draw in the eye holes, and an upside-down heart for the nose.
I found an old wreath in our garage that was falling apart, so my flowers are harvested from that:
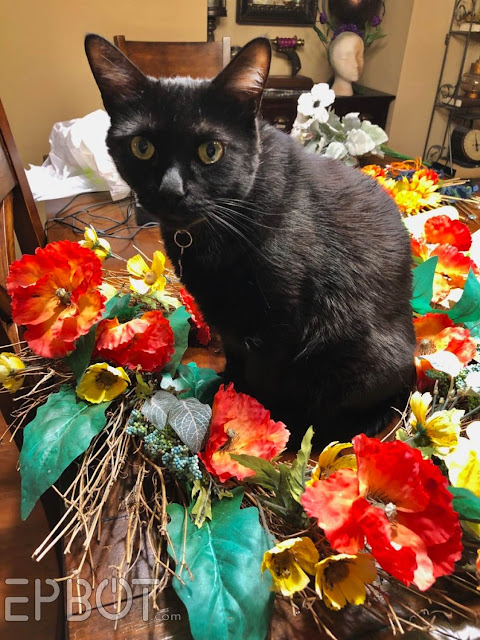
Eva's face while I'm explaining she's in the way. Again.
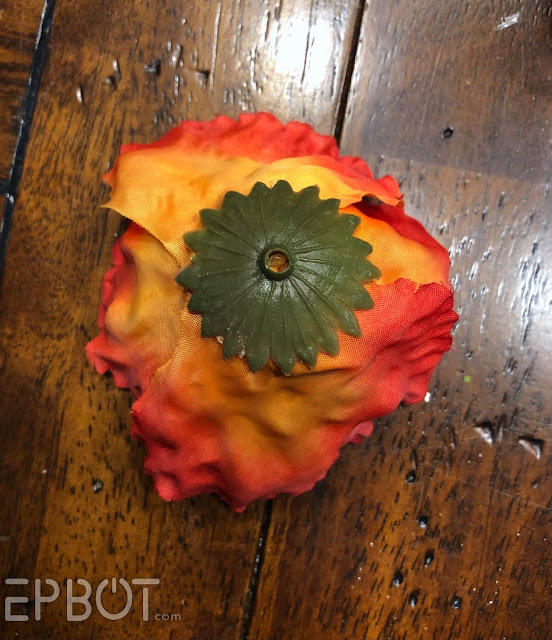
The plastic centers of the old poppies were crumbling into dust - Florida is brutal on fake flowers - but after a good scrub in the sink I could at least salvage the fabric petals:
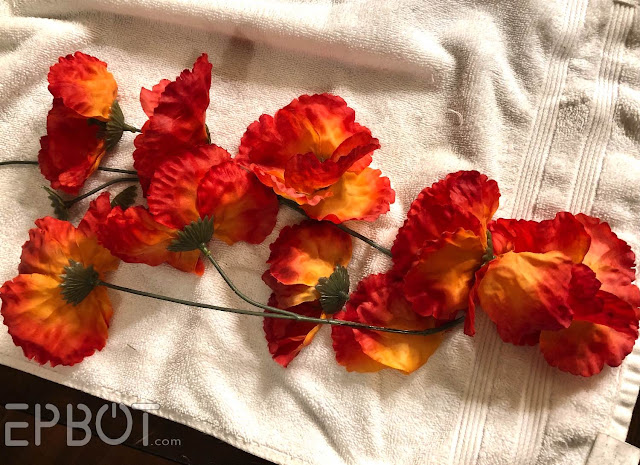
Most of the flower backs survived, too, which is important. Be sure to hang on to those when you take apart your own flowers. You'll need about 2 flowers' worth of petals for each skull.
Start by crumpling up a petal under the missing jaw, to hide the gaping head cavity. (Seriously, I love describing Halloween crafts.) This will look different depending on your petal shape, so just make sure it's tightly packed against the top teeth:
Hot glue that in place, then start layering on more petals:
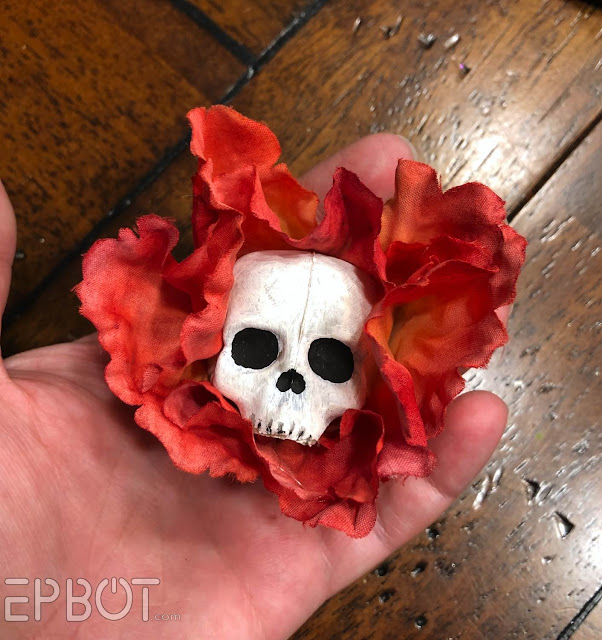
Glue the petals to the sides of the skull to make a nice dense center. I like the skulls to be recessed a bit, so they're just peeking out.
Oh, and try experimenting with your flower shape! I kind of wish I'd left mine like this, it looks like a little bonnet:
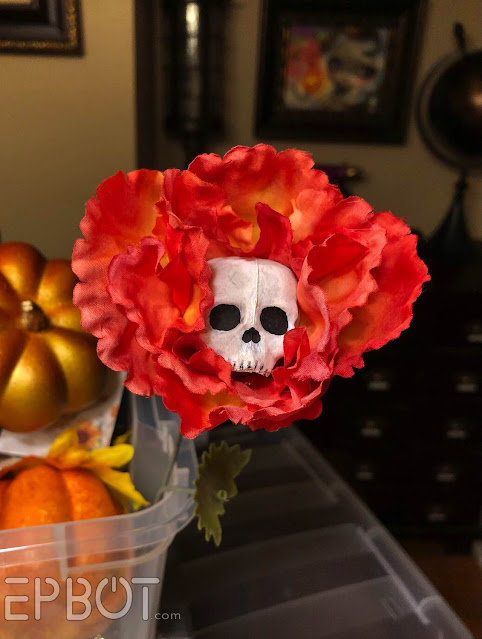
Add a dot of hot glue when you add the stem, too.
Boom badda boom, now go style your new flower babies in a vase and take some spoopy pictures!

I painted an old bud vase matte black, then when that looked too plain John added some white tape stripes. Don't you love black and white and orange together?

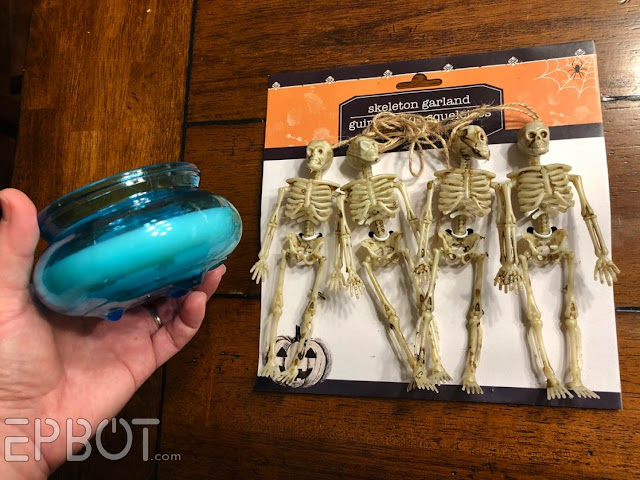
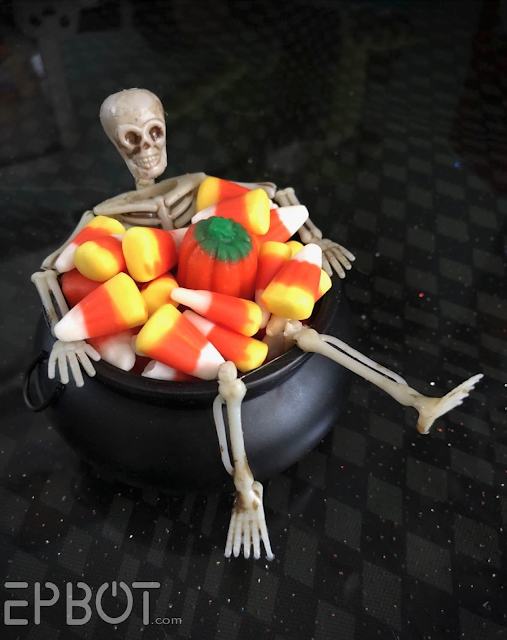
Oh, and since I took this photo I also added the cauldron candy dish I showed y'all last time, which I made using this DT candle and a mini skeleton:
Isn't that candle the PERFECT little cauldron shape?? So cute! They come in a few different colors, too, if you'd rather not paint them.
For mine I froze the wax to chip it out, washed it thoroughly, glued on wire loops for handles, then spray-painted just the outside of the glass matte black:
Here 'tis on the side table:

Since I have so many Halloween crafts this month (I did warn you, ha), I may be doing a few extra posts here and there. So stay tuned! I'm especially looking forward to sharing our BIG EXTERIOR project, debuting Halloween night. Cross your finger bones for us, I hope to have progress photos and silliness to share soon.
Thank you all for your love, likes, and comments on my last post. It's so refreshing to just be REAL with y'all, to let the hurt show, to admit life isn't always a bed of skull roses. I'm proud to say I've never had to hide anything here, though I always try to end with a bit of hope and light. Y'all get it. You've been there. And whether it's here in the blog comments or over on Discord or FoE, I see how you're there for each other, which makes me proudest of all. Love y'all, thanks for being the best internet family a geeky agoraphobic craft addict could ever ask for. ;)


Say it with me now, Death Eater boutonnieres!
ReplyDeletePSA for those new to chalk paint. Some chalk paints are meant to dry with a streaky finish, so read the bottle carefully if that will be problem. As for the bats, I had a large swarm dangling from my ceiling among the floating jack-o'-lanterns for a Harry Potter Halloween party one year. They took forever to hang just right, so when I changed out the pumpkins to Christmas baubles, I left the bats in place, but gave them some holiday ribbon streamers that they were "helping" to hang, and each one got a little Santa hat (foamie stickers). Bats in hats are adorable!
ReplyDeleteThese would be spectacular for day of the dead. (I wonder if you could turn em into sugar skulls with colored sharpies.)
ReplyDeleteLove these! But my favorite might be the unintentional look of the pumpkin in the last side table shot. It seems to be saying, "What in the world is going on around me?!"
ReplyDelete'This isn't an existential exercise' ... my new favourite saying LOL :)
ReplyDeleteHey girl, this is actually kind of a specialty of mine, except I like to make them into fascinators and crowns. I take them off the stem and back them onto a small square of felt. Then I attach them to either a large hair clip, or string several of them onto a plastic headband for more of a "crown effect". Also fun to add the weird purple or black sparkly branchy-thingies, glitter, rhinestones, feathers, etc. Oh, and I make them with eyeballs in the center (like your wreath), too!
ReplyDeleteJust flashed: this would be a fun crafting party theme, and not just for Halloween! You can make them with faux poinsettias and greenery for Christmas, or do more of a tropical theme in the summer. :)
Your Pal,
Storm the Klingon